Objects are independent entities that lie outside web or mobile projects which are required for a Zinier solution to function properly. Each Object has an ObjectID which can be exported into a Solution Bundle.
There are 5 different types of Objects that can be added to an org's solution.
|
Objects |
Description |
|---|---|
|
Rules |
Rules are javascript functions that can transform data used in the solution |
|
Queries |
Queries are written in JSON format, used by Mobile/ Front End to fetch records from Database. |
|
Network API |
These are APIs used within a Network Node to contact external servers |
|
Templates |
Templates are used for text (notifications, PDF) generated within the solution |
|
Znode |
ZNode is used to connect with External systems such as Zendesk or Hubspot to fetch or update information |
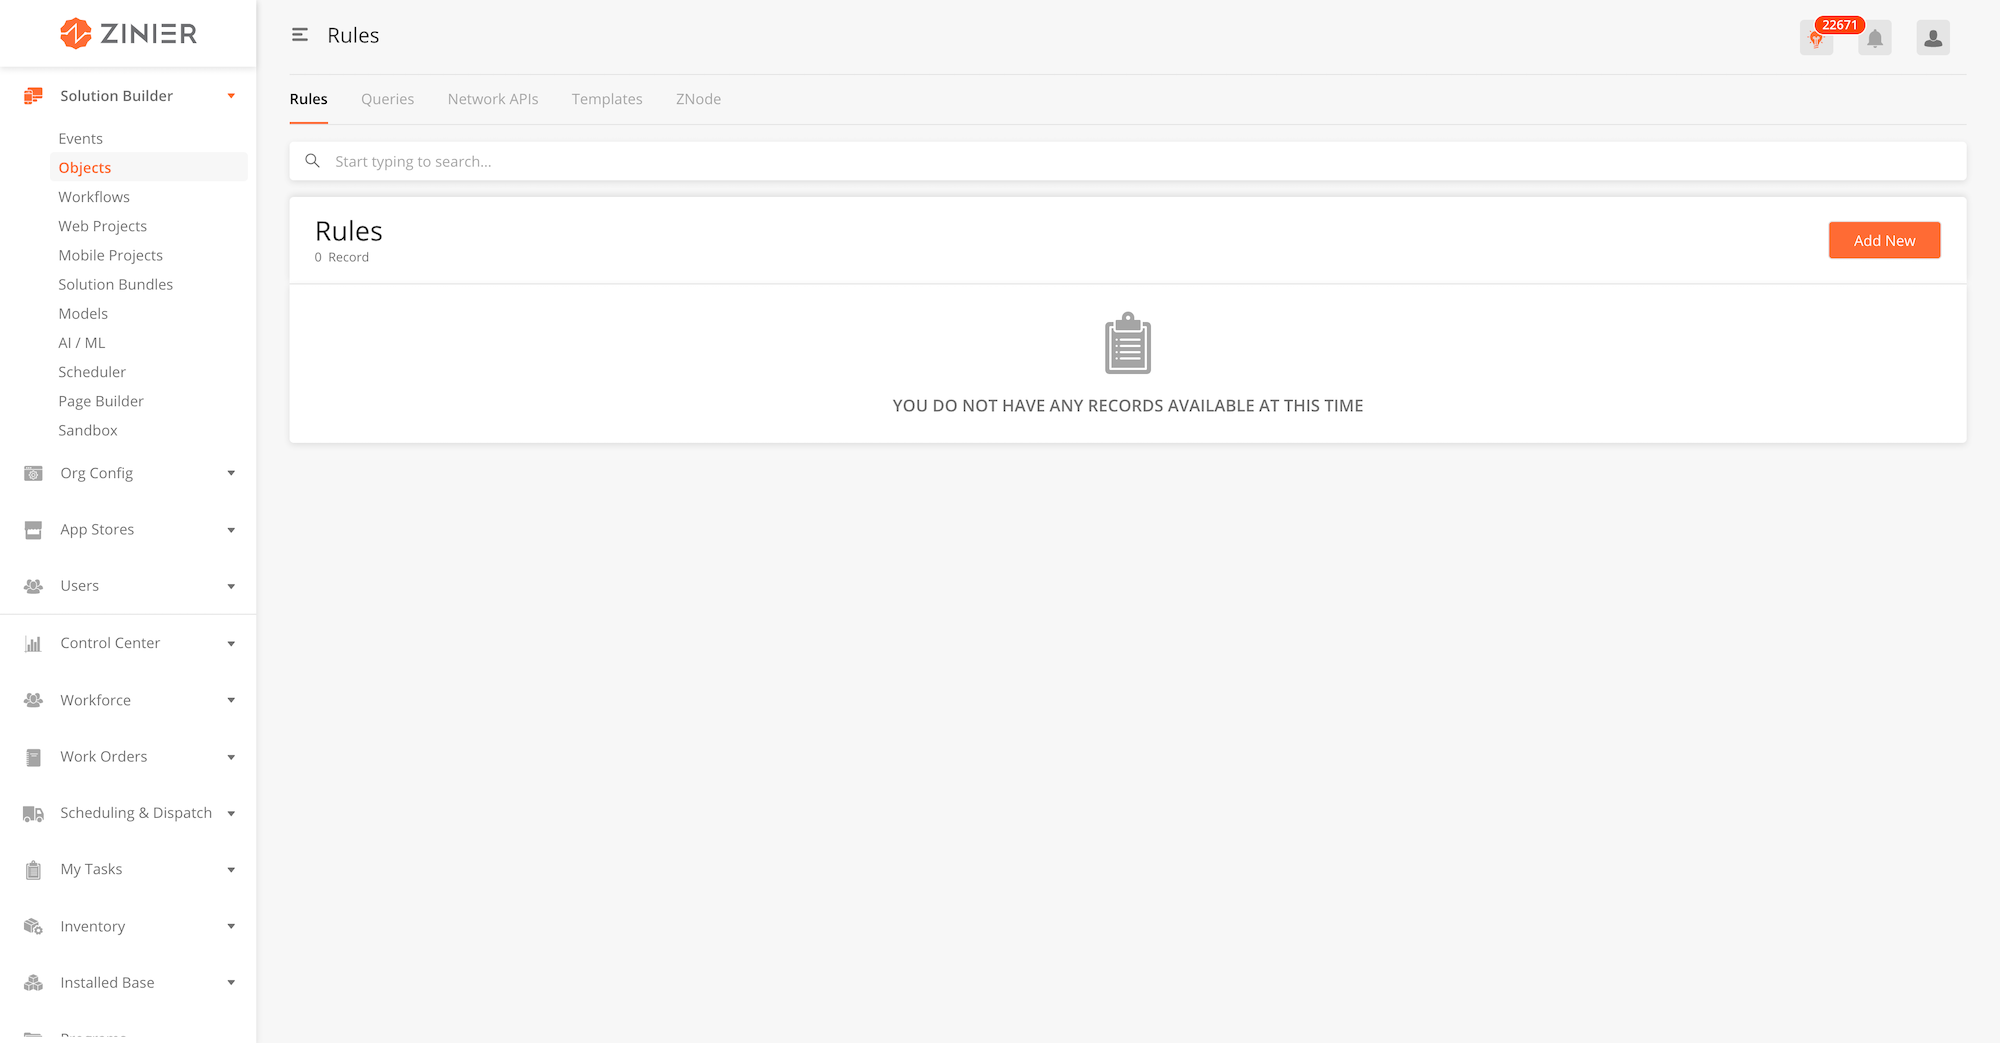
Configured in theSolutions Builder > Objectsmodule, Rules are JavaScript functions that can transform data in context, process responses from servers and perform complex arithmetic. Once a Rule is created, it can be called from any workflow in the organisation.
|
Module |
Description |
|---|---|
|
Add Rules to a Solution Bundle |
-
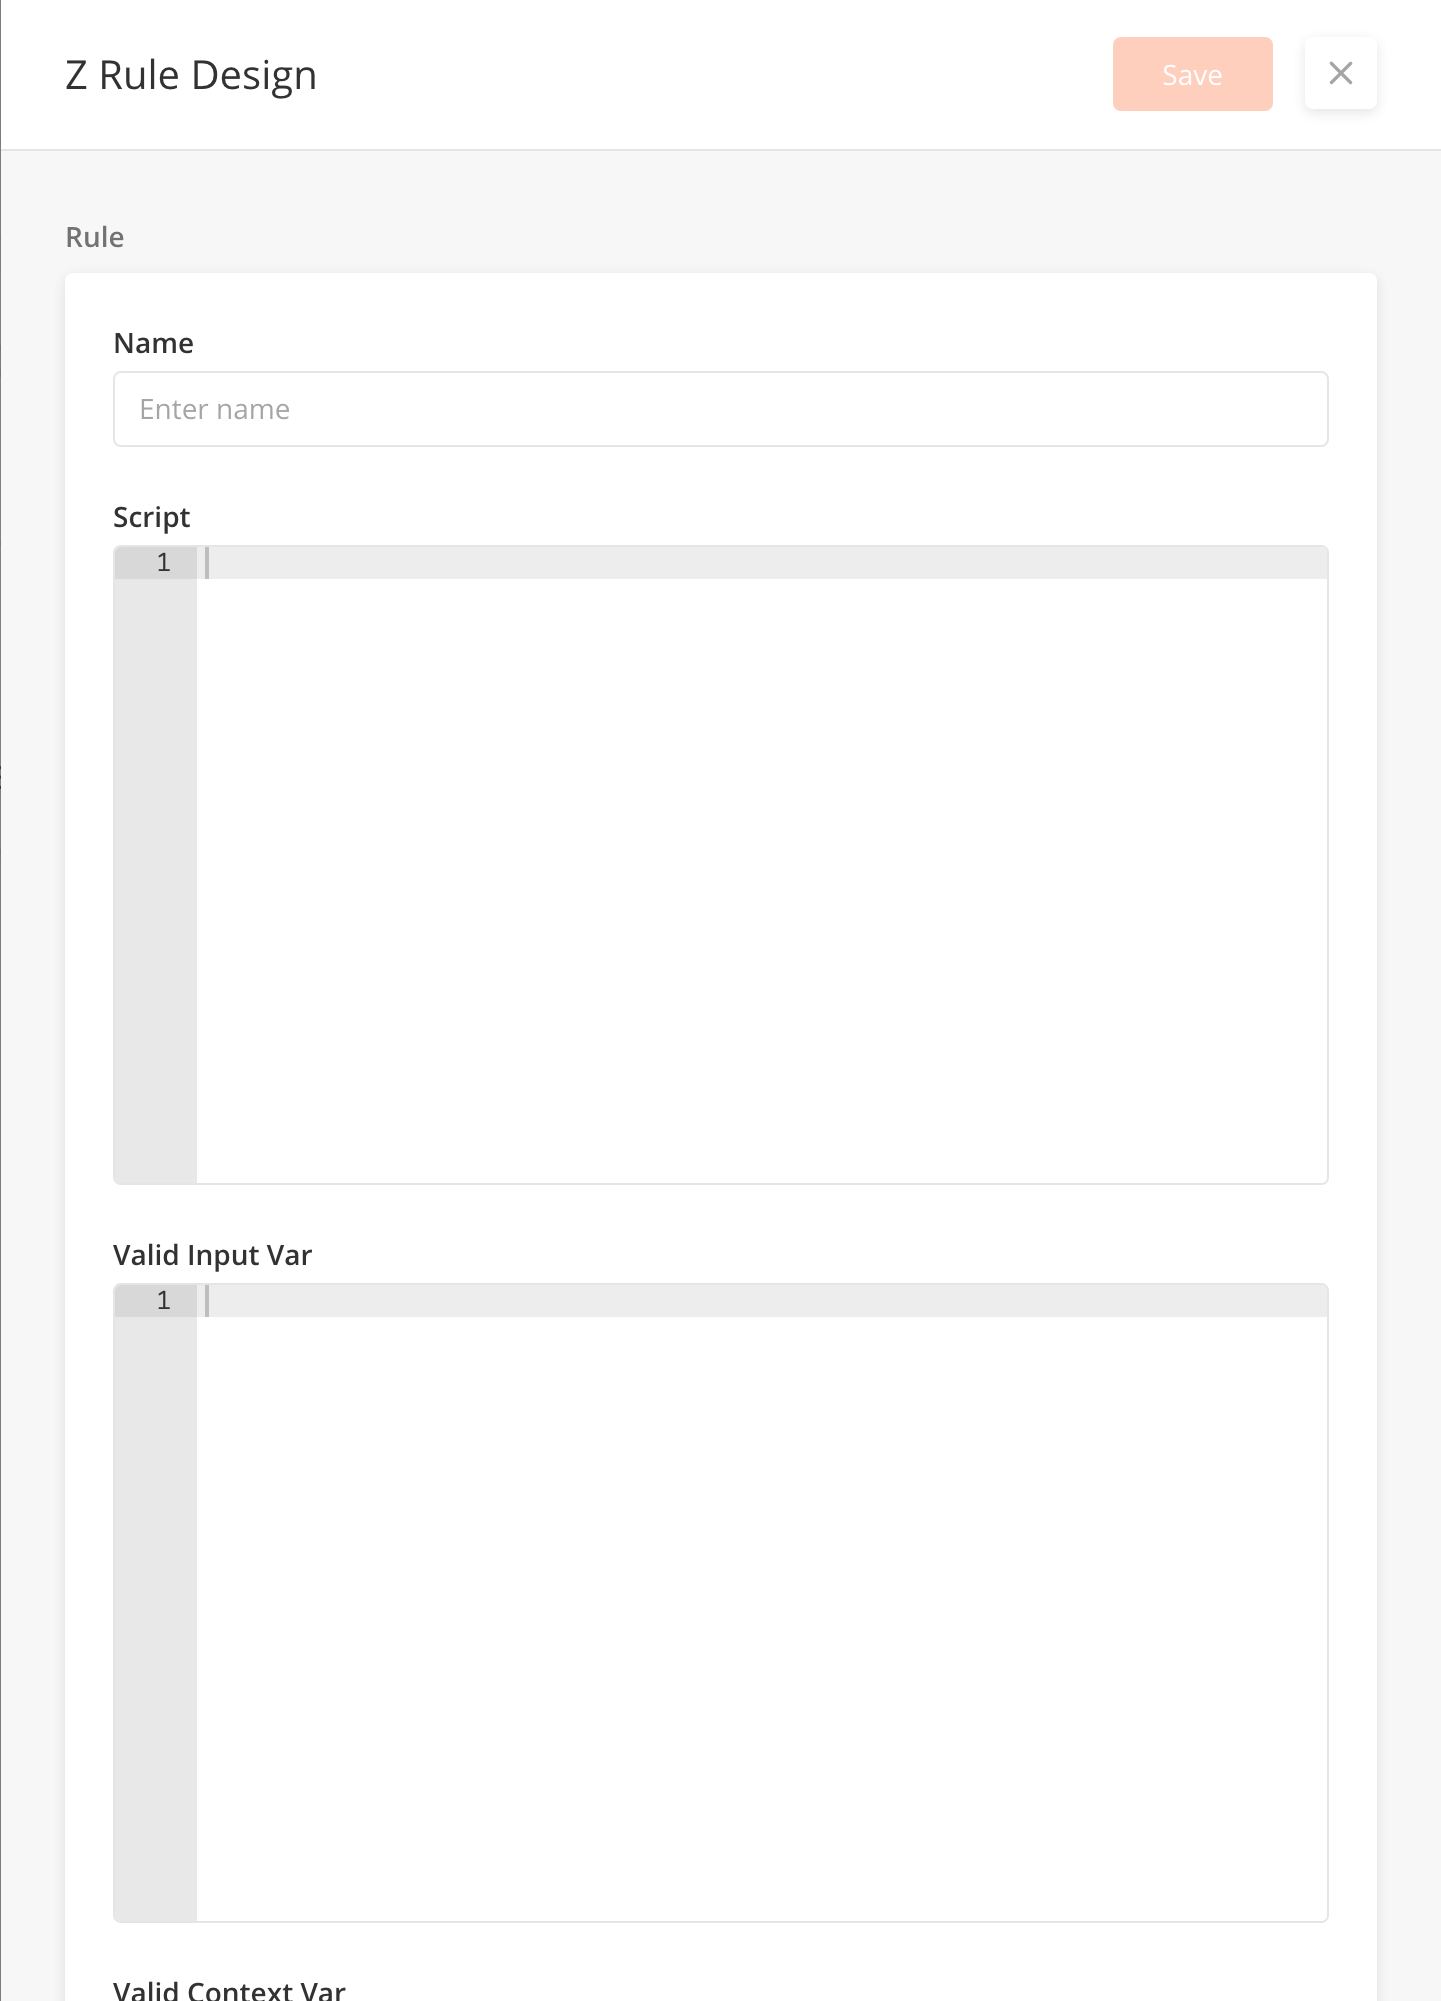
From the main page, click Add New to open the side panel.
-
Enter a Name for the Rule
-
Enter the Script
-
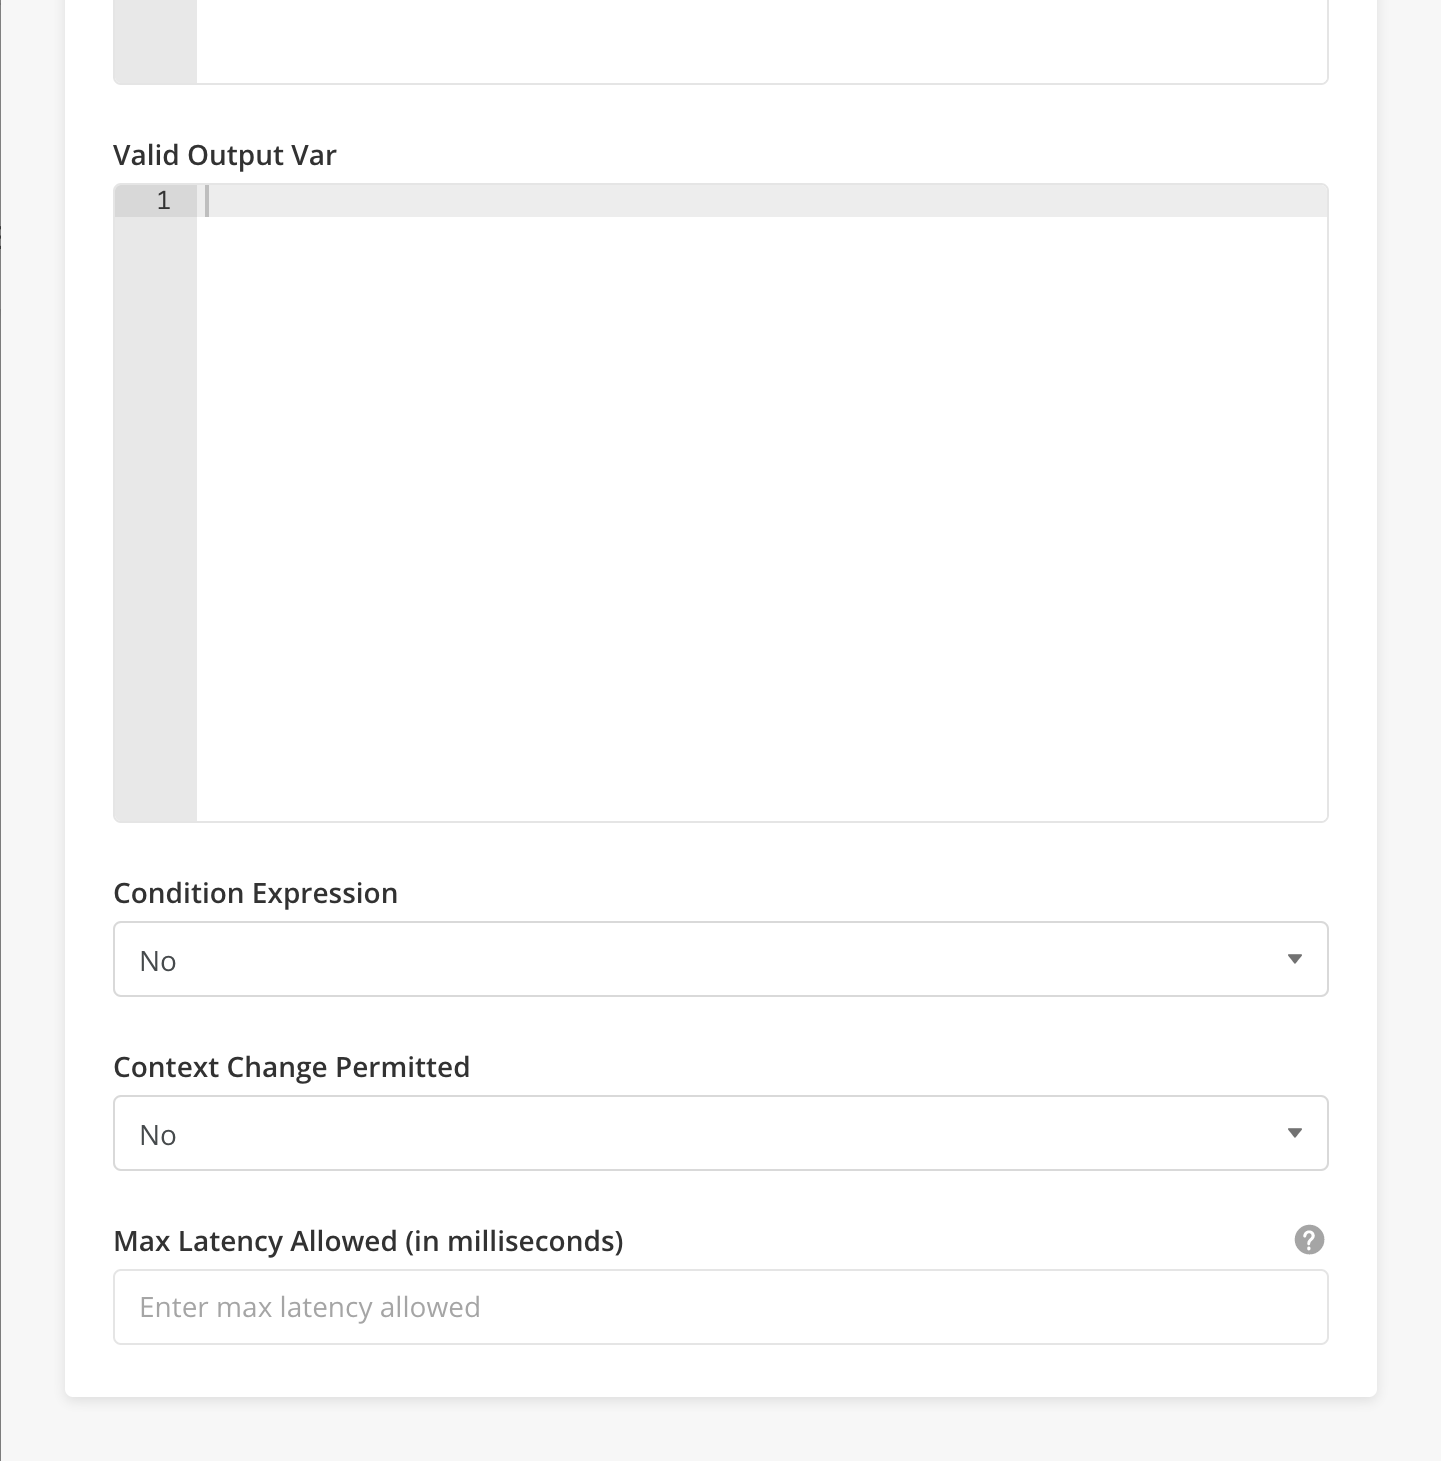
Enter the Valid Input Var, Valid Context Var and Valid Output Var that is used within the Rule
-
Select if the Rule has a Condition Expression
-
Select if Context Change is Permitted
-
Enter Max latency allowed in miliseconds. The workflow will be terminated after. The minimum value is 100. Do not insert less than 100.
-
You can edit or delete a record by hovering over the row of the desired record from the main page table and clicking the Edit icon. When you click Edit, the side panel will appear. Edit the information and click Save
-
You cannot delete Rules.
|
|
|
Field Name |
Description |
Example |
|---|---|---|
|
Name |
Name of the Rule |
|
|
Script |
Javascript |
|
|
Valid Input Var |
JSON |
|
|
Valid Context Var |
JSON |
|
|
Valid Output Var |
JSON |
|
|
Condition Expression |
||
|
Context Change Permitted |
||
|
Max latency Allowed |
Maximum time (in milliseconds) allowed for workflow execution. The workflow will be terminated after. The minimum value is 100. Do not insert less than 100. |
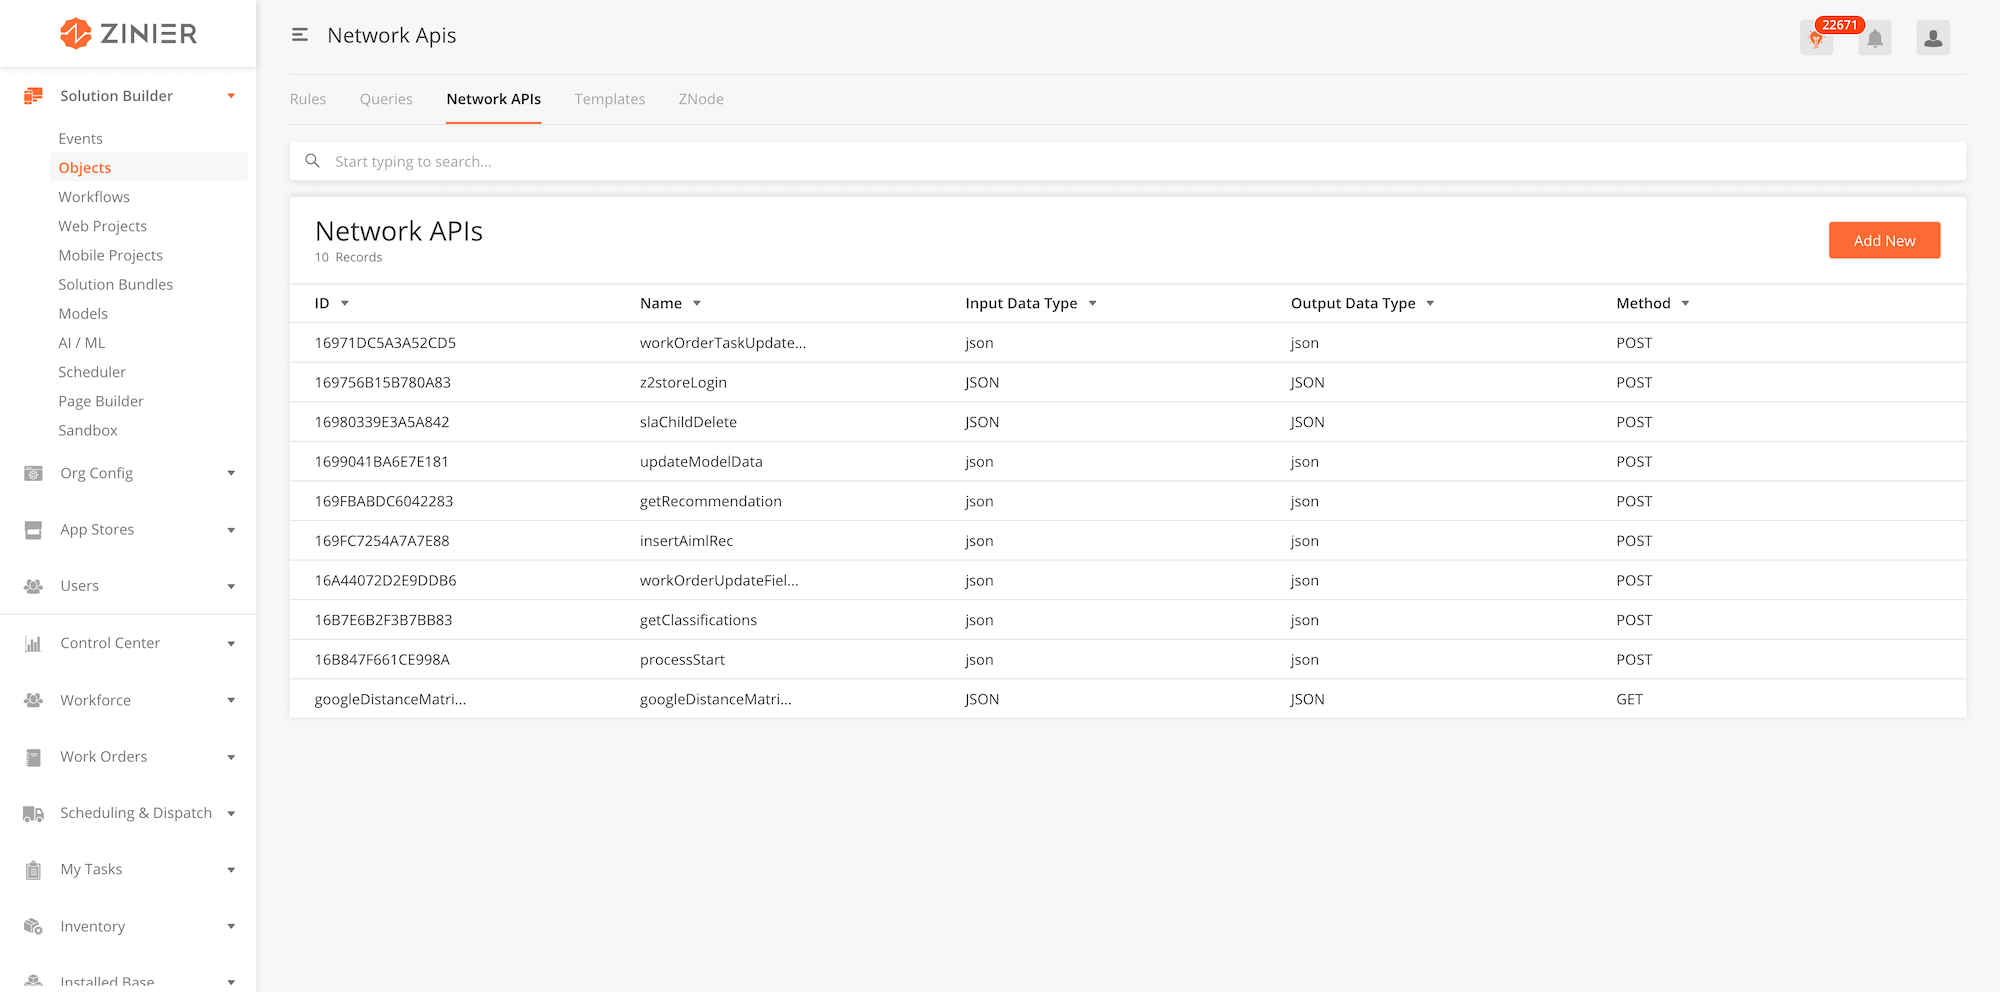
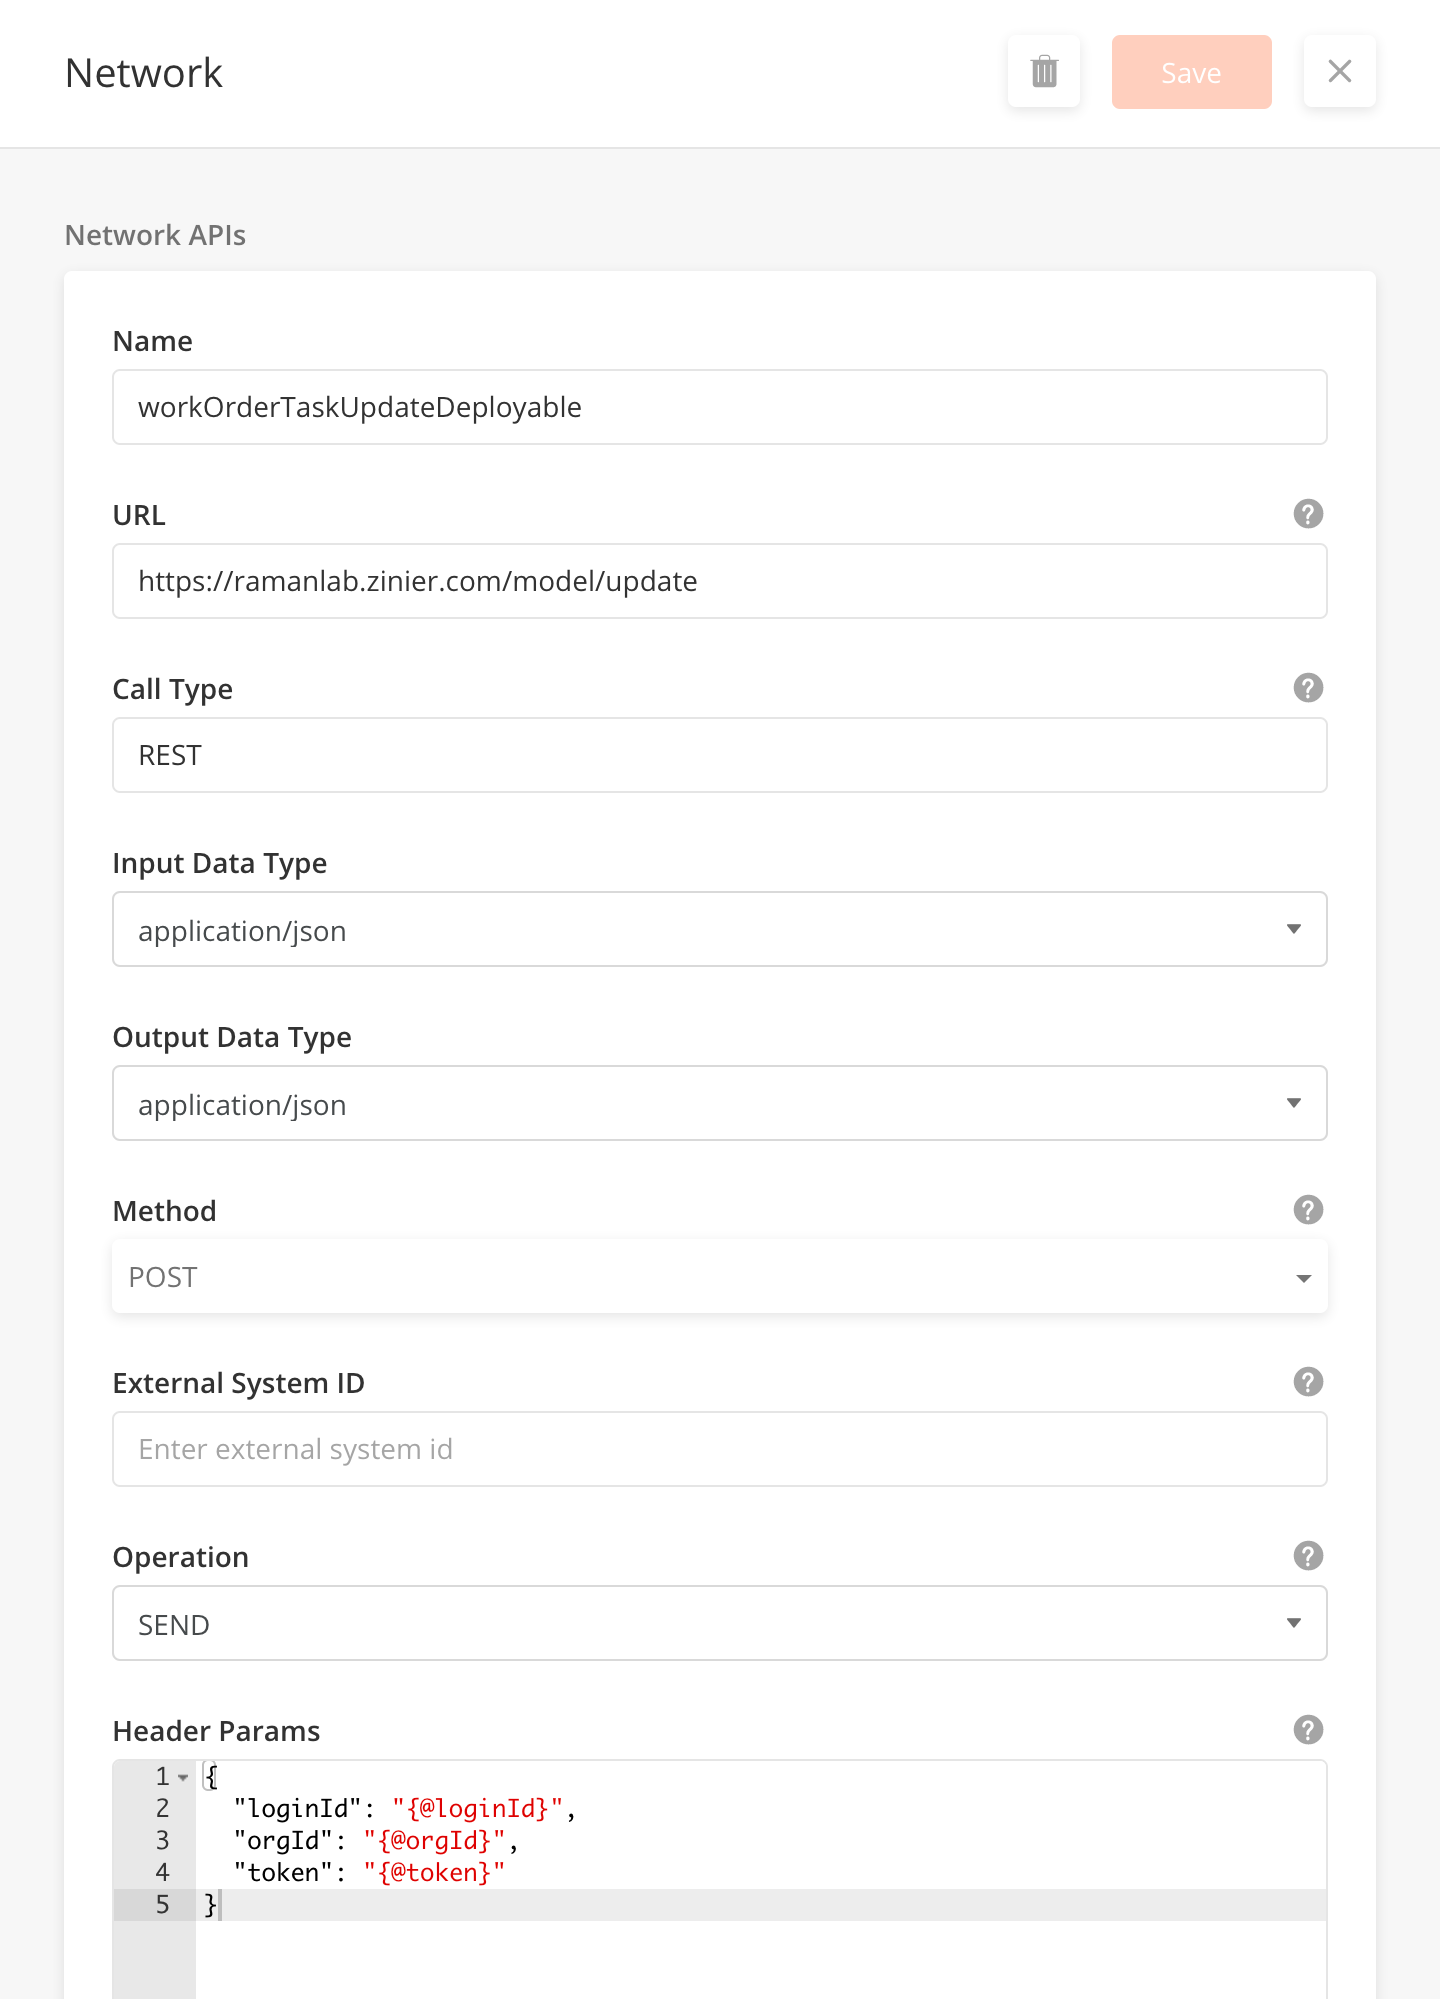
The Network API stores the specific API calls associated with an external system so that this information can be called upon when building workflows that utilize the Network Node. They contain information such as the external system URL, HTTP method to invoke the external system, input and output data types, external system id to be used and header and URL params. Network APIs are used to contact external servers using REST APIs and support standard REST operations such as GET & POST.
-
From the main page, click Add New to open the side panel.
-
Enter Name string for the Network API
-
Enter URL string which is the URL for the External API
-
Enter the Call Type of the API (REST,SOAP, GET)
-
Select the Input and Output Data Type. You can choose
application/json,multipart-formdata,application/x-www-form-urlencodedorapplication/xml -
Select the Method which refers to the API Request Type. You can choose options including POST, CONNECT, OPTIONS, TRACE, PATCH, GET, HEAD,PUT
-
Enter the External System ID which refers to the Security ID or API Token
-
Select the Operation which refers to the API Operation Type. You can choose options including SEND, RECEIVE, FETCH OR EXECUTE
-
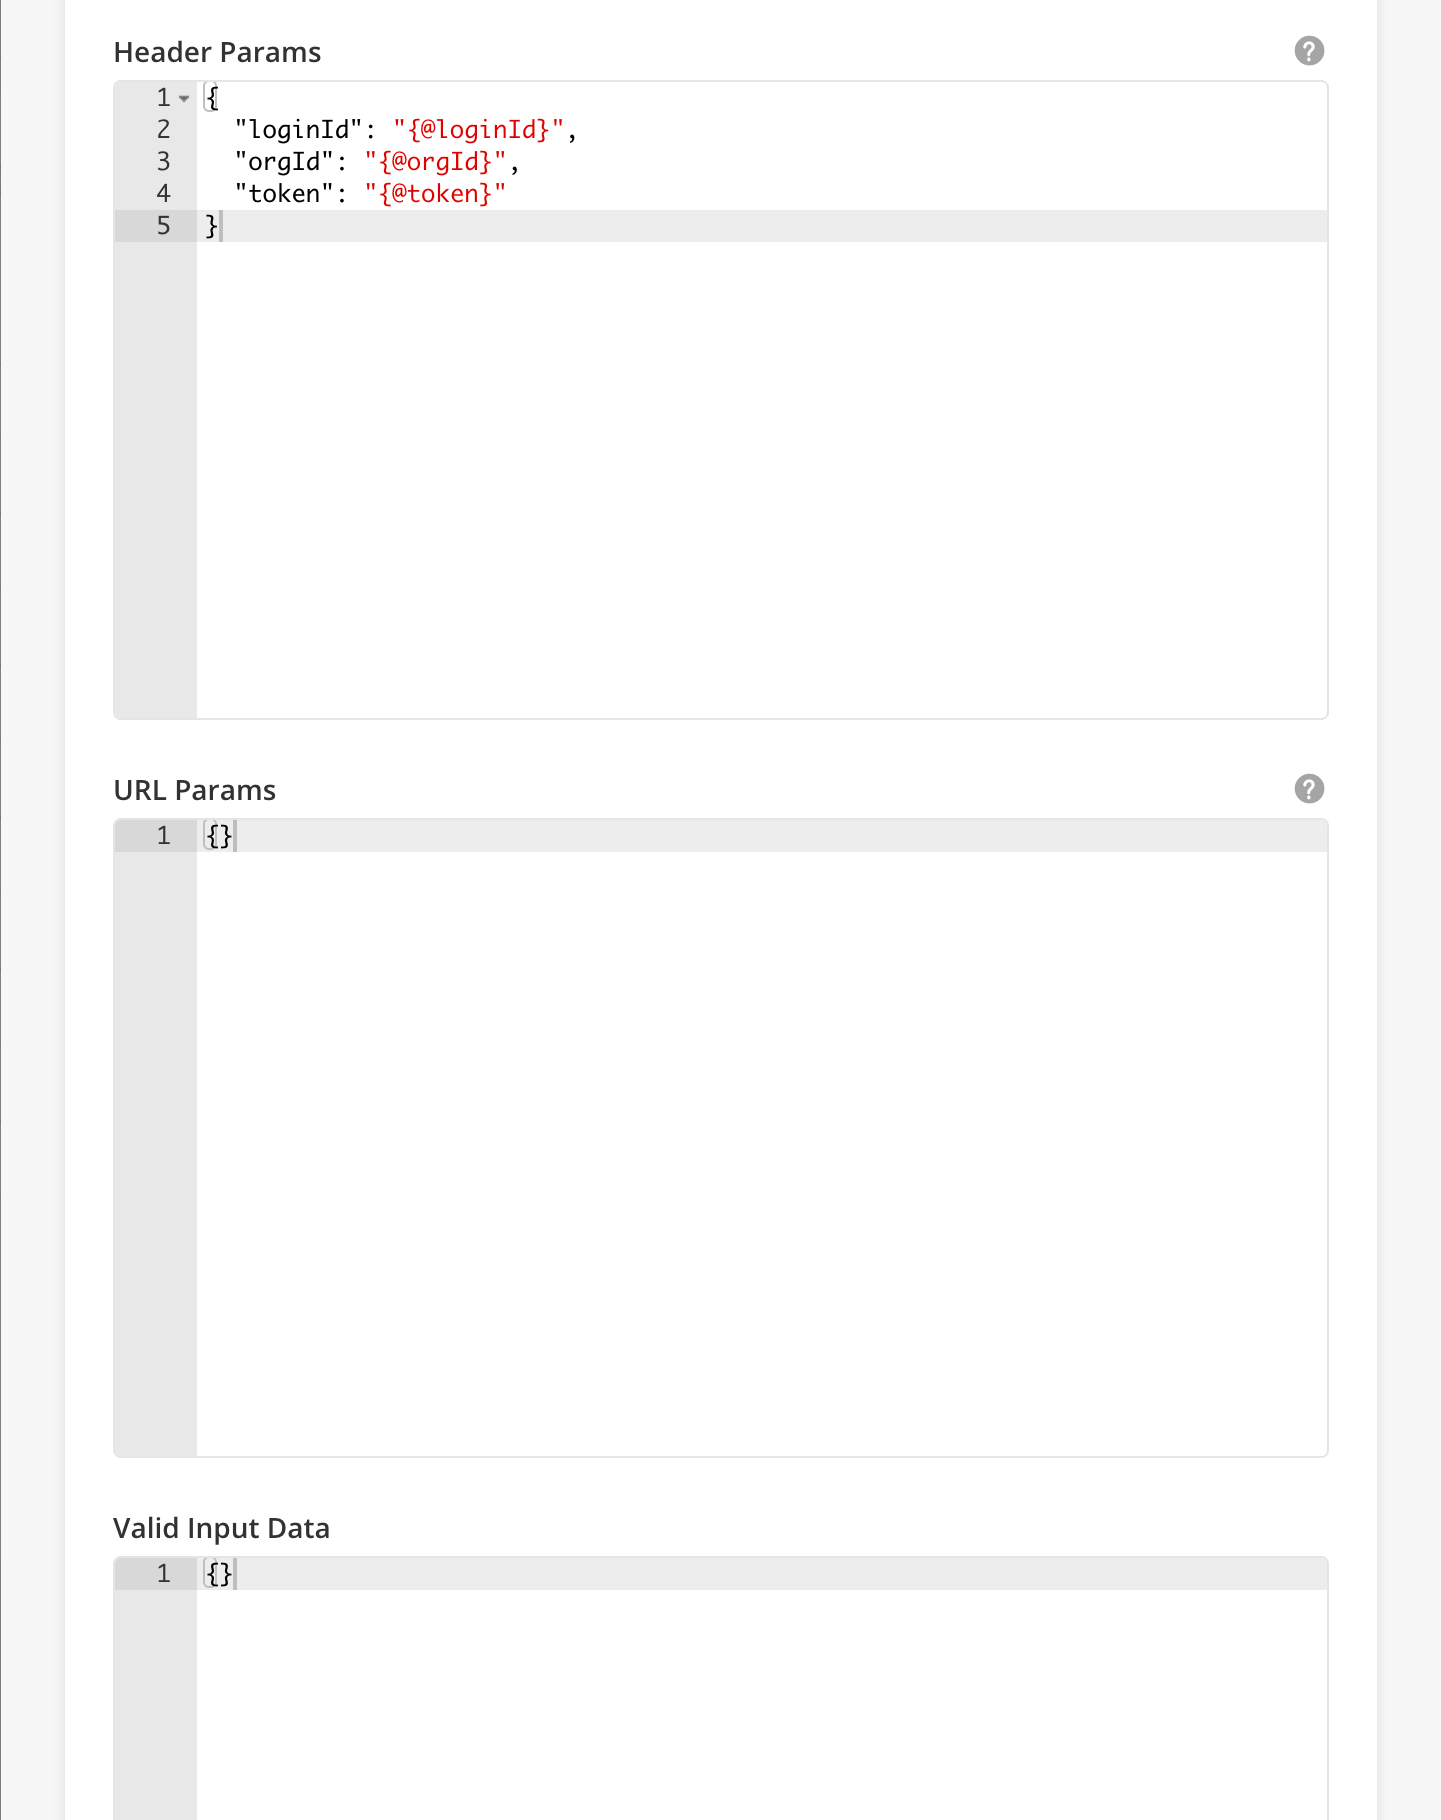
Enter JSON Object for Header Params which refer to the API Header Parameters
-
Enter JSON Object for URL Params which refer to API URL Parameters
-
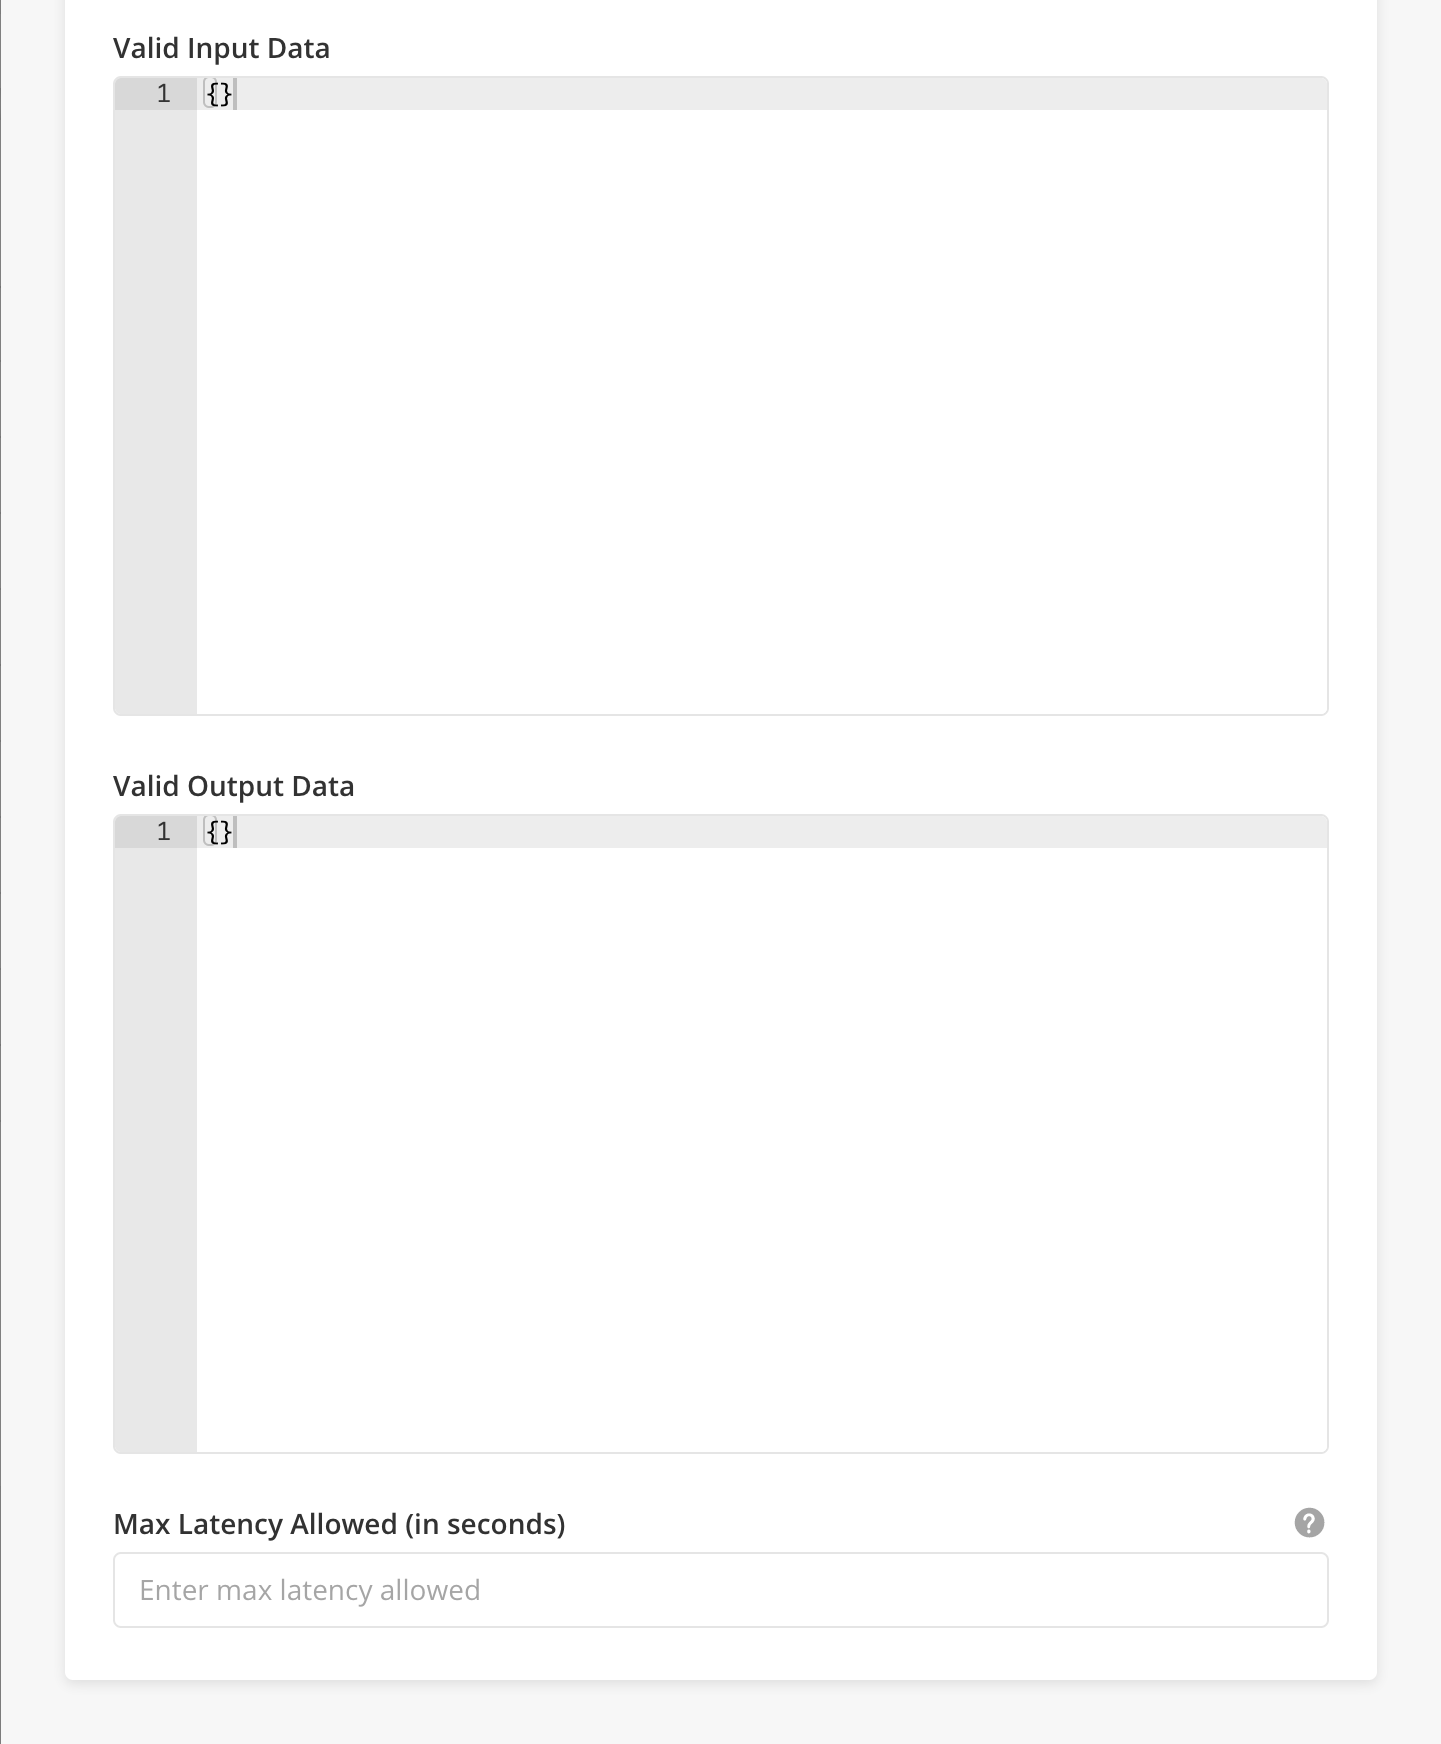
If relevant, enter Valid Input Data and Valid Output Data in JSON Objects.
-
Set the Max Lagency Allowed (in seconds). This refers to maximum time (in seconds) allowed for workflow execution. The workflow will be terminated after. The minimum value is 5. Do not insert less than 5.
-
Click on Save to close the side panel.
-
You can edit or delete a record by hovering over the row of the desired record from the main page table and clicking the Edit icon. When you click Edit, the side panel will appear. Edit the information and click Save. To delete, hover and click on the trash icon. You can also delete through the trash icon in the sidepanel.
|
Module |
Description |
|---|---|
|
Add Network APIs to a Solution Bundle |
|
Field Name |
Description |
Example |
|---|---|---|
|
Name |
Name For the External API |
workOrderTaskUpdateDeployable |
|
URL |
URL of External API |
|
|
Call Type |
External API Call Type (i.e REST, SOAP) |
REST |
|
Input Data Type |
|
|
|
Output Data Type |
|
|
|
Method |
API Request Type |
|
|
External System ID |
Security ID or API Token |
|
|
Operation |
API Operation Type |
|
|
Header Params |
API Headers |
{ "loginId": "{@loginId}", "orgId": "{@orgId}", "token": "{@token}" } |
|
URL Params |
API URL Parameters |
|
|
Valid Input Data |
Input Data |
|
|
Valid Output Data |
Output Data |
|
|
Max Latency Allowed |
Maximum time (in seconds) allowed for workflow execution. The workflow will be terminated after. The minimum value is 5. Do not insert less than 5. |
2 |
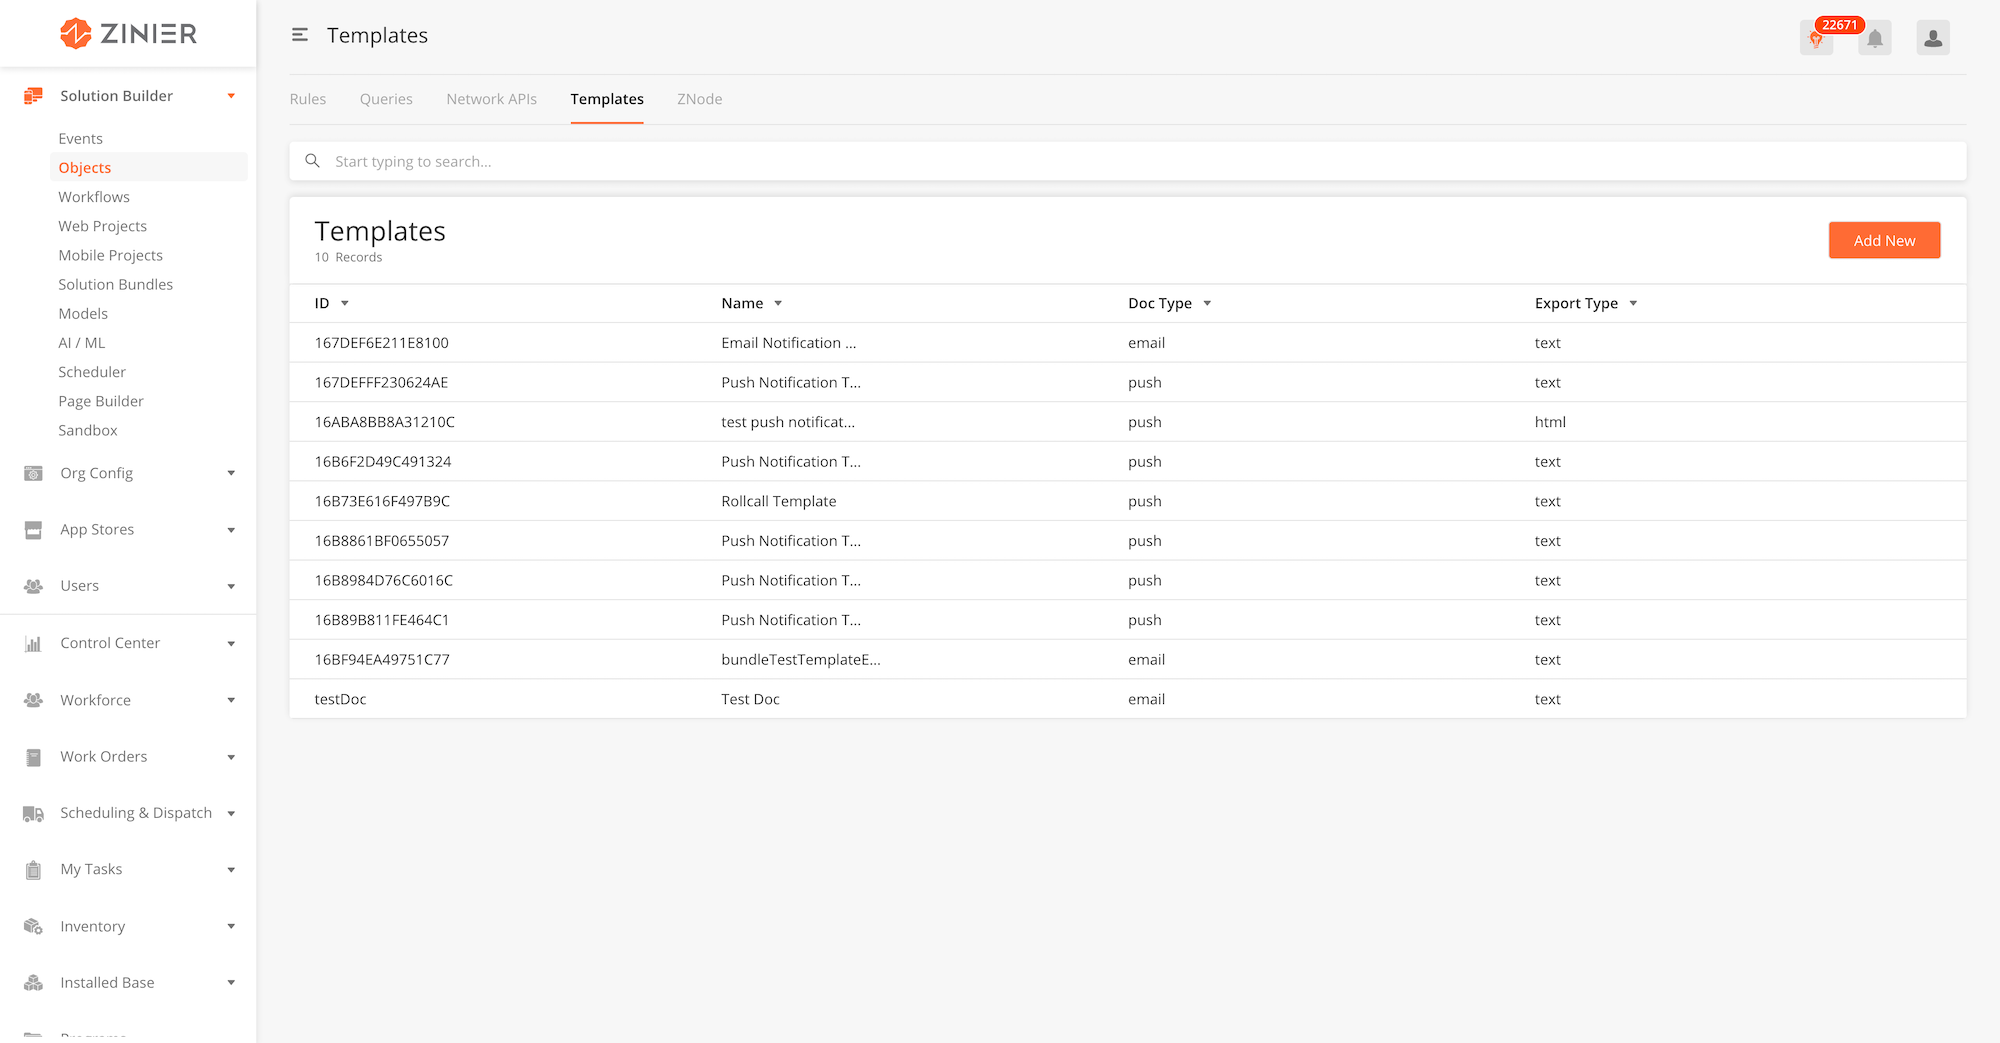
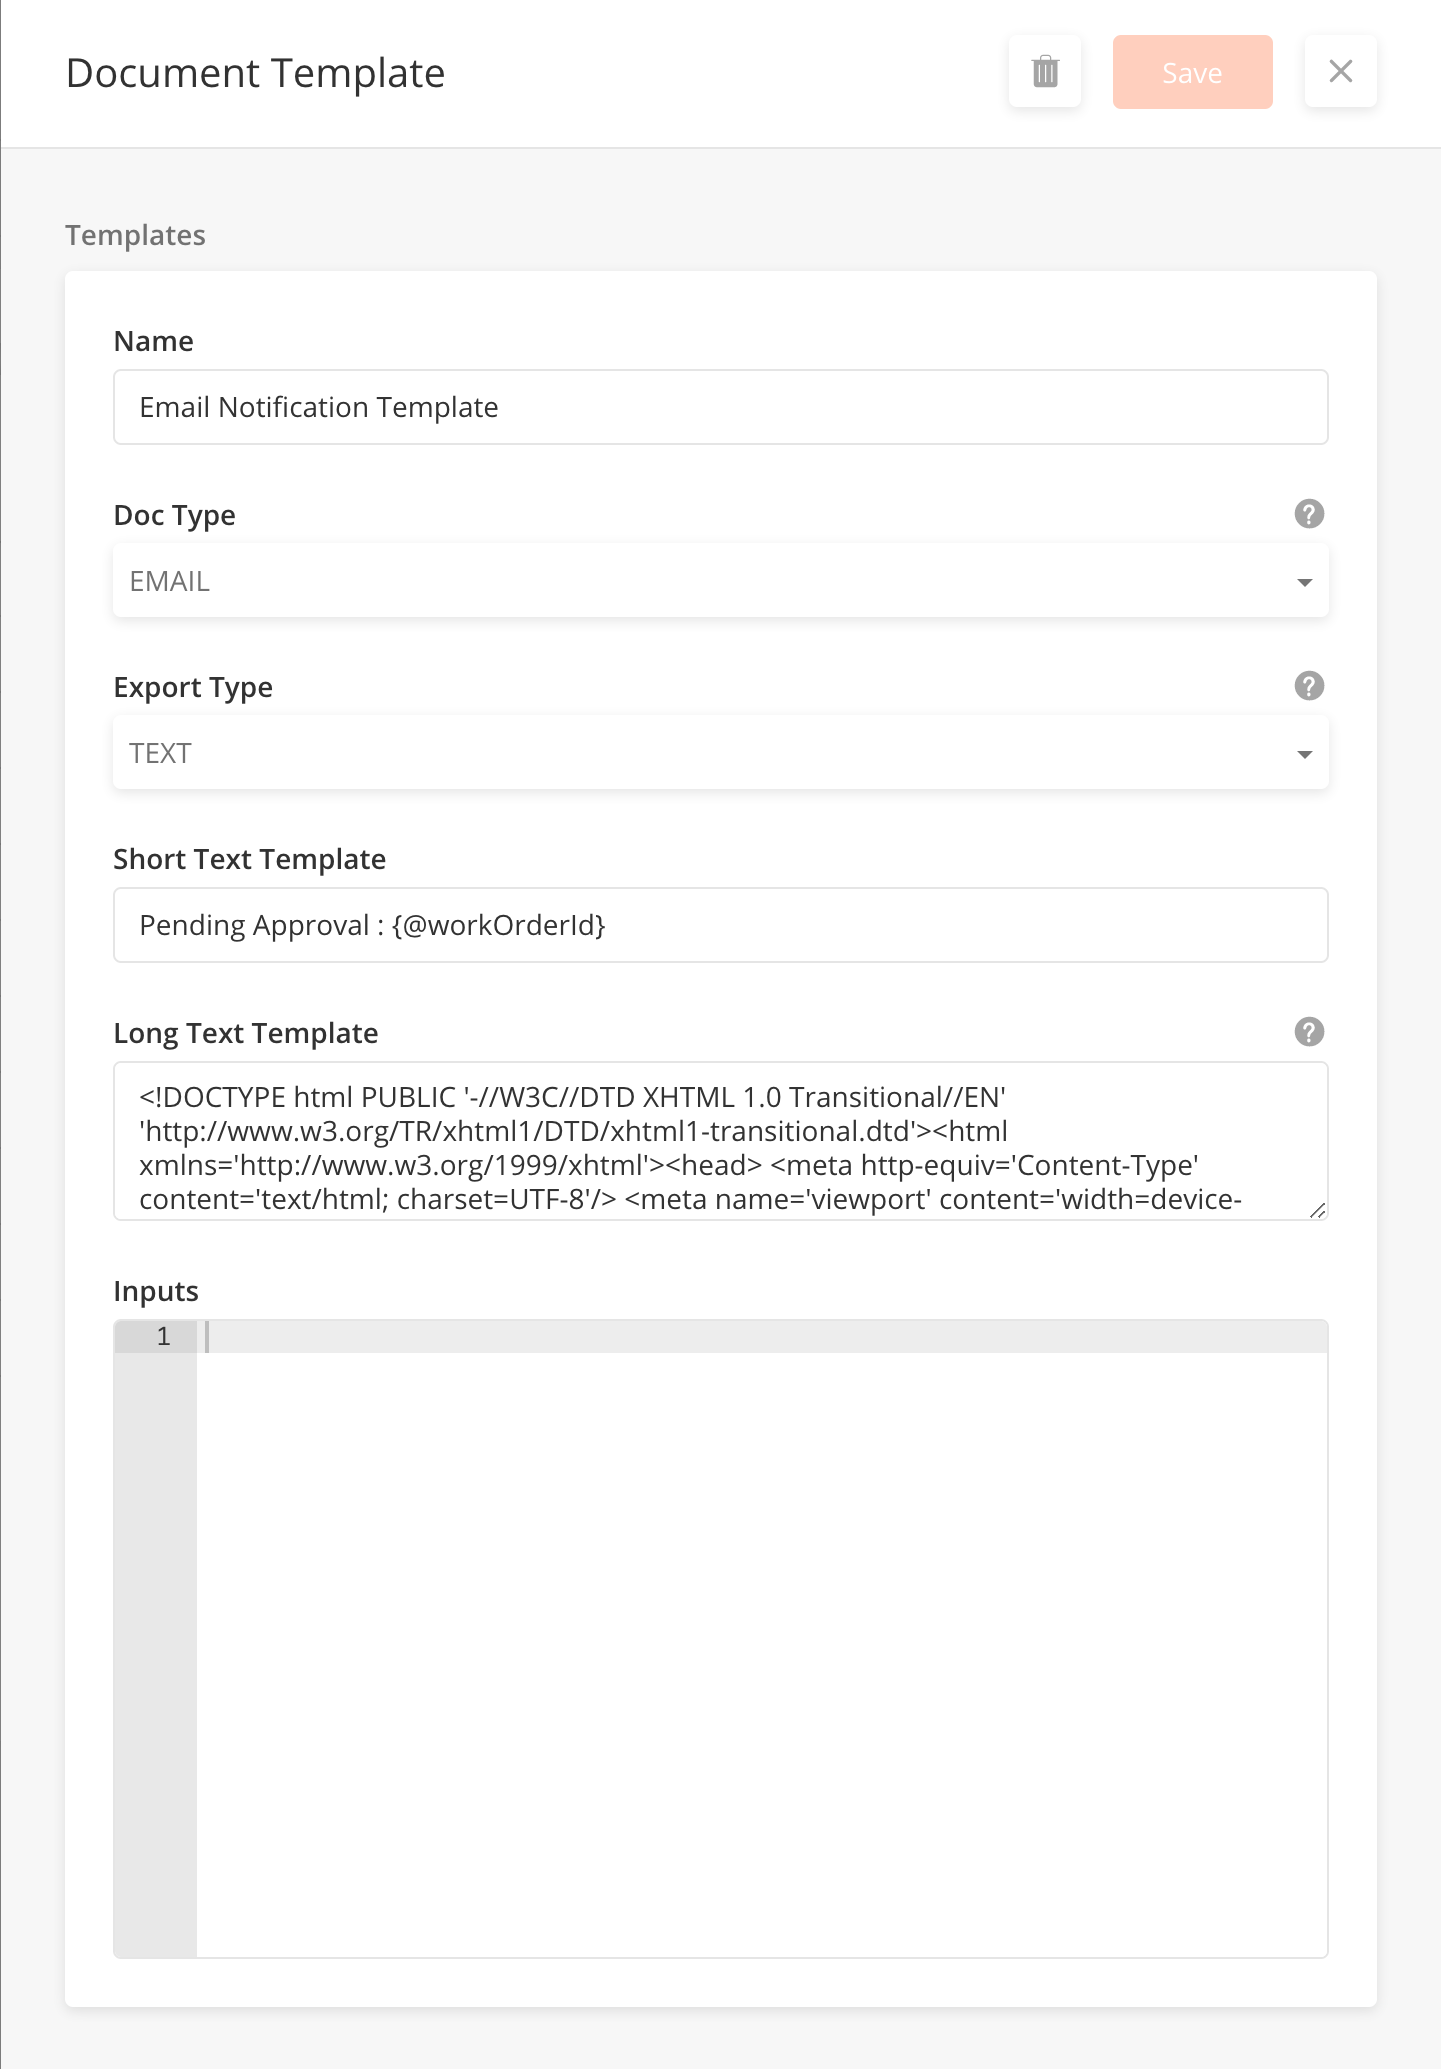
Templates are used for notifications in a solution. They are written in HTML format and supports dynamic variables. Templates are typically organisation specific and it is easy for Solutions Admin to edit, add or delete notifications. Notifications can be built into workflows.
-
From the main page, click Add New to open the side panel.
-
Enter a Name of the Template
-
Select a Doc Type of the template (Email, Web, Push or SMS) . * Note SMS is not yet supported
-
Select Export Type of the template. This refers to
-
You can edit or delete a record by hovering over the row of the desired record from the main page table and clicking the Edit icon. When you click Edit, the side panel will appear. Edit the information and click Save. To delete, hover and click on the trash icon.
|
Module |
Description |
|---|---|
|
Add Templates to a Solution Bundle |
|
Field Name |
Description |
Example |
|---|---|---|
|
Name |
Name for template |
Email Notification Template |
|
Doc Type |
Doc Type to specify the purpose of template (Push, Email,SMS) |
|
|
Export Type |
Template Format received by User (Text, PDF, HTML) |
TEXT |
|
Short Text Template |
This is the subject for Email. |
Pending Approval : {@workOrderId} |
|
Long Text Template |
Condensed HTML Template |
<!DOCTYPE html PUBLIC '-//W3C//DTD XHTML 1.0 Transitional//EN' '<html'>http://www.w3.org/TR/xhtml1/DTD/xhtml1-transitional.dtd'><html</html'> xmlns='<head'>http://www.w3.org/1999/xhtml'><head</head'>> <meta http-equiv='Content-Type' content='text/html; charset=UTF-8'/> <meta name='viewport' content='width=device-width, initial-scale=1.0'/> <title>Email Zinier Tickets</title> <link href='https://fonts.googleapis.com/css?family=Open+Sans:400,600' rel='stylesheet'> <style type='text/css'> .email-ticket-container{height: 768px; width: 1366px;}.ticket-container{width: 700px; height: 500px; background-color: #f7f7f7; margin: auto;}.outerContainer{display: table; position: absolute; height: 98%; width: 99%;}.middleContainer{display: table-cell; vertical-align: middle;}.logoDiv{margin: 29px 287.5px 29.2px 281px; height: 30px;}.divider{width: 40px; height: 2px; border-radius: 2px; background-color: #ff6b35; margin: 0 auto 0 auto;}.username-Div{width: 360px; height: 48px; font-family: 'Open Sans',sans-serif; font-size: 16px; font-weight: 600; font-style: normal; font-stretch: normal; line-height: 1.5; letter-spacing: normal; text-align: center; color: #323232; margin: 32px 170px 24px 170px;}.clickContainer{width: 360px; height: 130px; border-radius: 4px; background-color: #ffffff; border: solid 1px #e5e5e5; margin: 46px 170px 24px 170px;}.labelDiv{width: 328px; height: 18px; font-family: 'Open Sans',sans-serif; font-size: 12px; font-weight: normal; font-style: normal; font-stretch: normal; line-height: 1.5; letter-spacing: normal; text-align: center; color: #323232; margin: 24px 16px;}.buttonDiv{background-color: #ff6b35; margin: 0 16px 24px 16px; border-radius: 4px; padding: 11px 16px 10px 16px;}.buttonLabelDiv{width: 296px; height: 19px; font-family: 'Open Sans',sans-serif; font-size: 14px; font-weight: normal; font-style: normal; font-stretch: normal; line-height: normal; letter-spacing: -0.1px; text-align: center; color: #ffffff;}.greyDivider{width: 40px; height: 2px; border-radius: 2px; background-color: #e5e5e5; margin: 0 330px 24px 330px;}.footerDiv{width: 360px; height: 36px; font-family: 'Open Sans',sans-serif; font-size: 12px; font-weight: normal; font-style: normal; font-stretch: normal; line-height: 1.5; letter-spacing: normal; text-align: center; color: #a5a5a5; margin: 0 170px 24px 170px;}</style></head><body> <div class='outerContainer'> <div class='middleContainer'> <div class='ticket-container'> <img src='https://d122pusslfmuhu.cloudfront.net/mail/logo.png' class='logoDiv' alt='Logo' class='att-logo'> <div class='divider'> </div><div class='username-Div'> Hello Users, we inform you that the ticket {@workOrderId} is ready to be reviewed </div><div class='clickContainer'> <div class='labelDiv'> Click on the button below to open tickets </div><a href='{@serverUrl}' style='display: initial;margin-left: 62px;float: center;font-size: 14px;color: #fff;text-align: center;padding: 10px 57px 9px;background-color: #ff6b35;border: 1px solid #ff6b35;border-radius: 4px;text-decoration: none;font-family: Open Sans, sans-serif;'>Open WorkOrders</a> </div><div class='greyDivider'> </div><div class='footerDiv'> Zinier Inc <br>1419 Chapin Ave., Burlingame, CA 94010, USA </div></div></div></div></body></html> |
|
Inputs |
Inputs for the template (maybe from Workflow/side panel etc) |
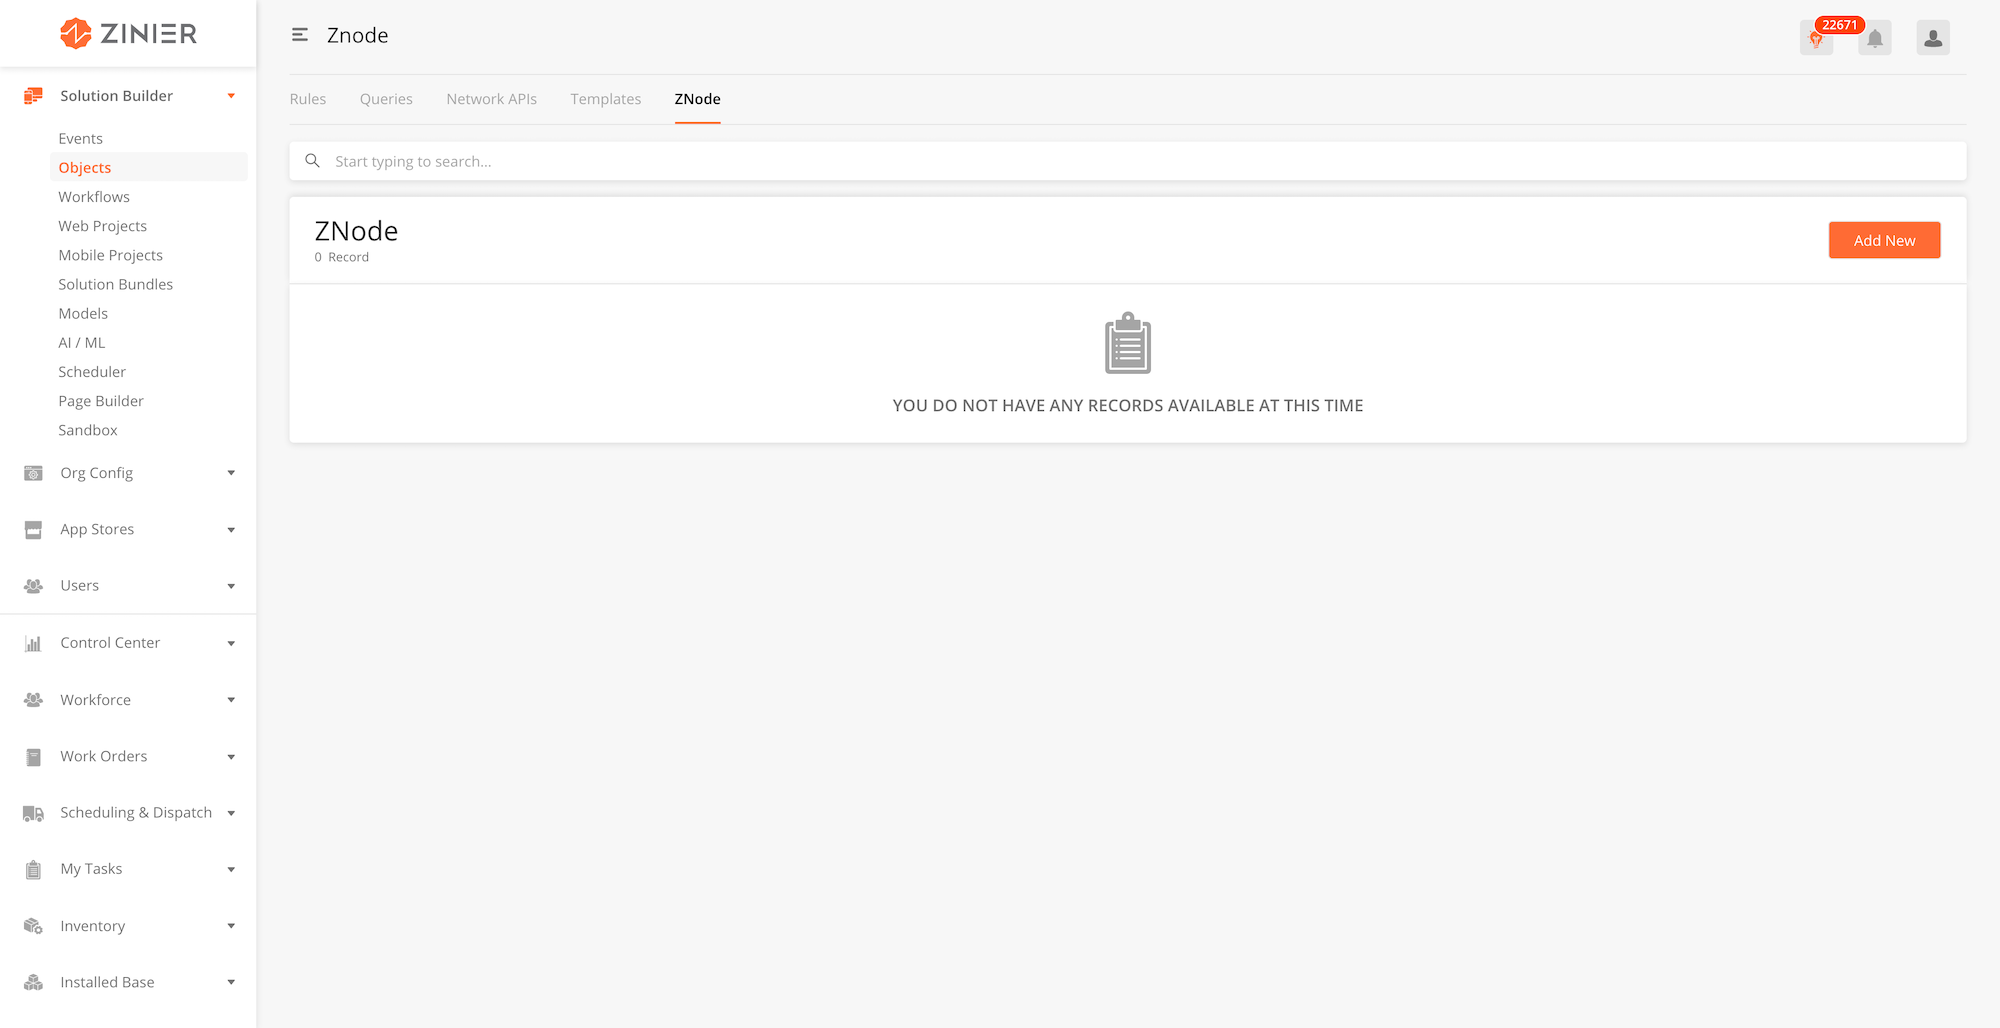
ZNode is used to connect with External Systems to fetch or update information. Znode can be reused whenever required. It provides high-level abstraction and avoids rewriting the workflow again.
Example:
Get Router data from external system and process in the desired format. Instead of writing this workflow to fetch router data we can create a Znode which can be reused anytime. This consists of three steps;
-
Get authentication token
-
Get available Routers data using authentication token
-
Format fetched router data for further usage
|
Module |
Description |
|---|---|
|
Add Znode to a Solution Bundle |
-
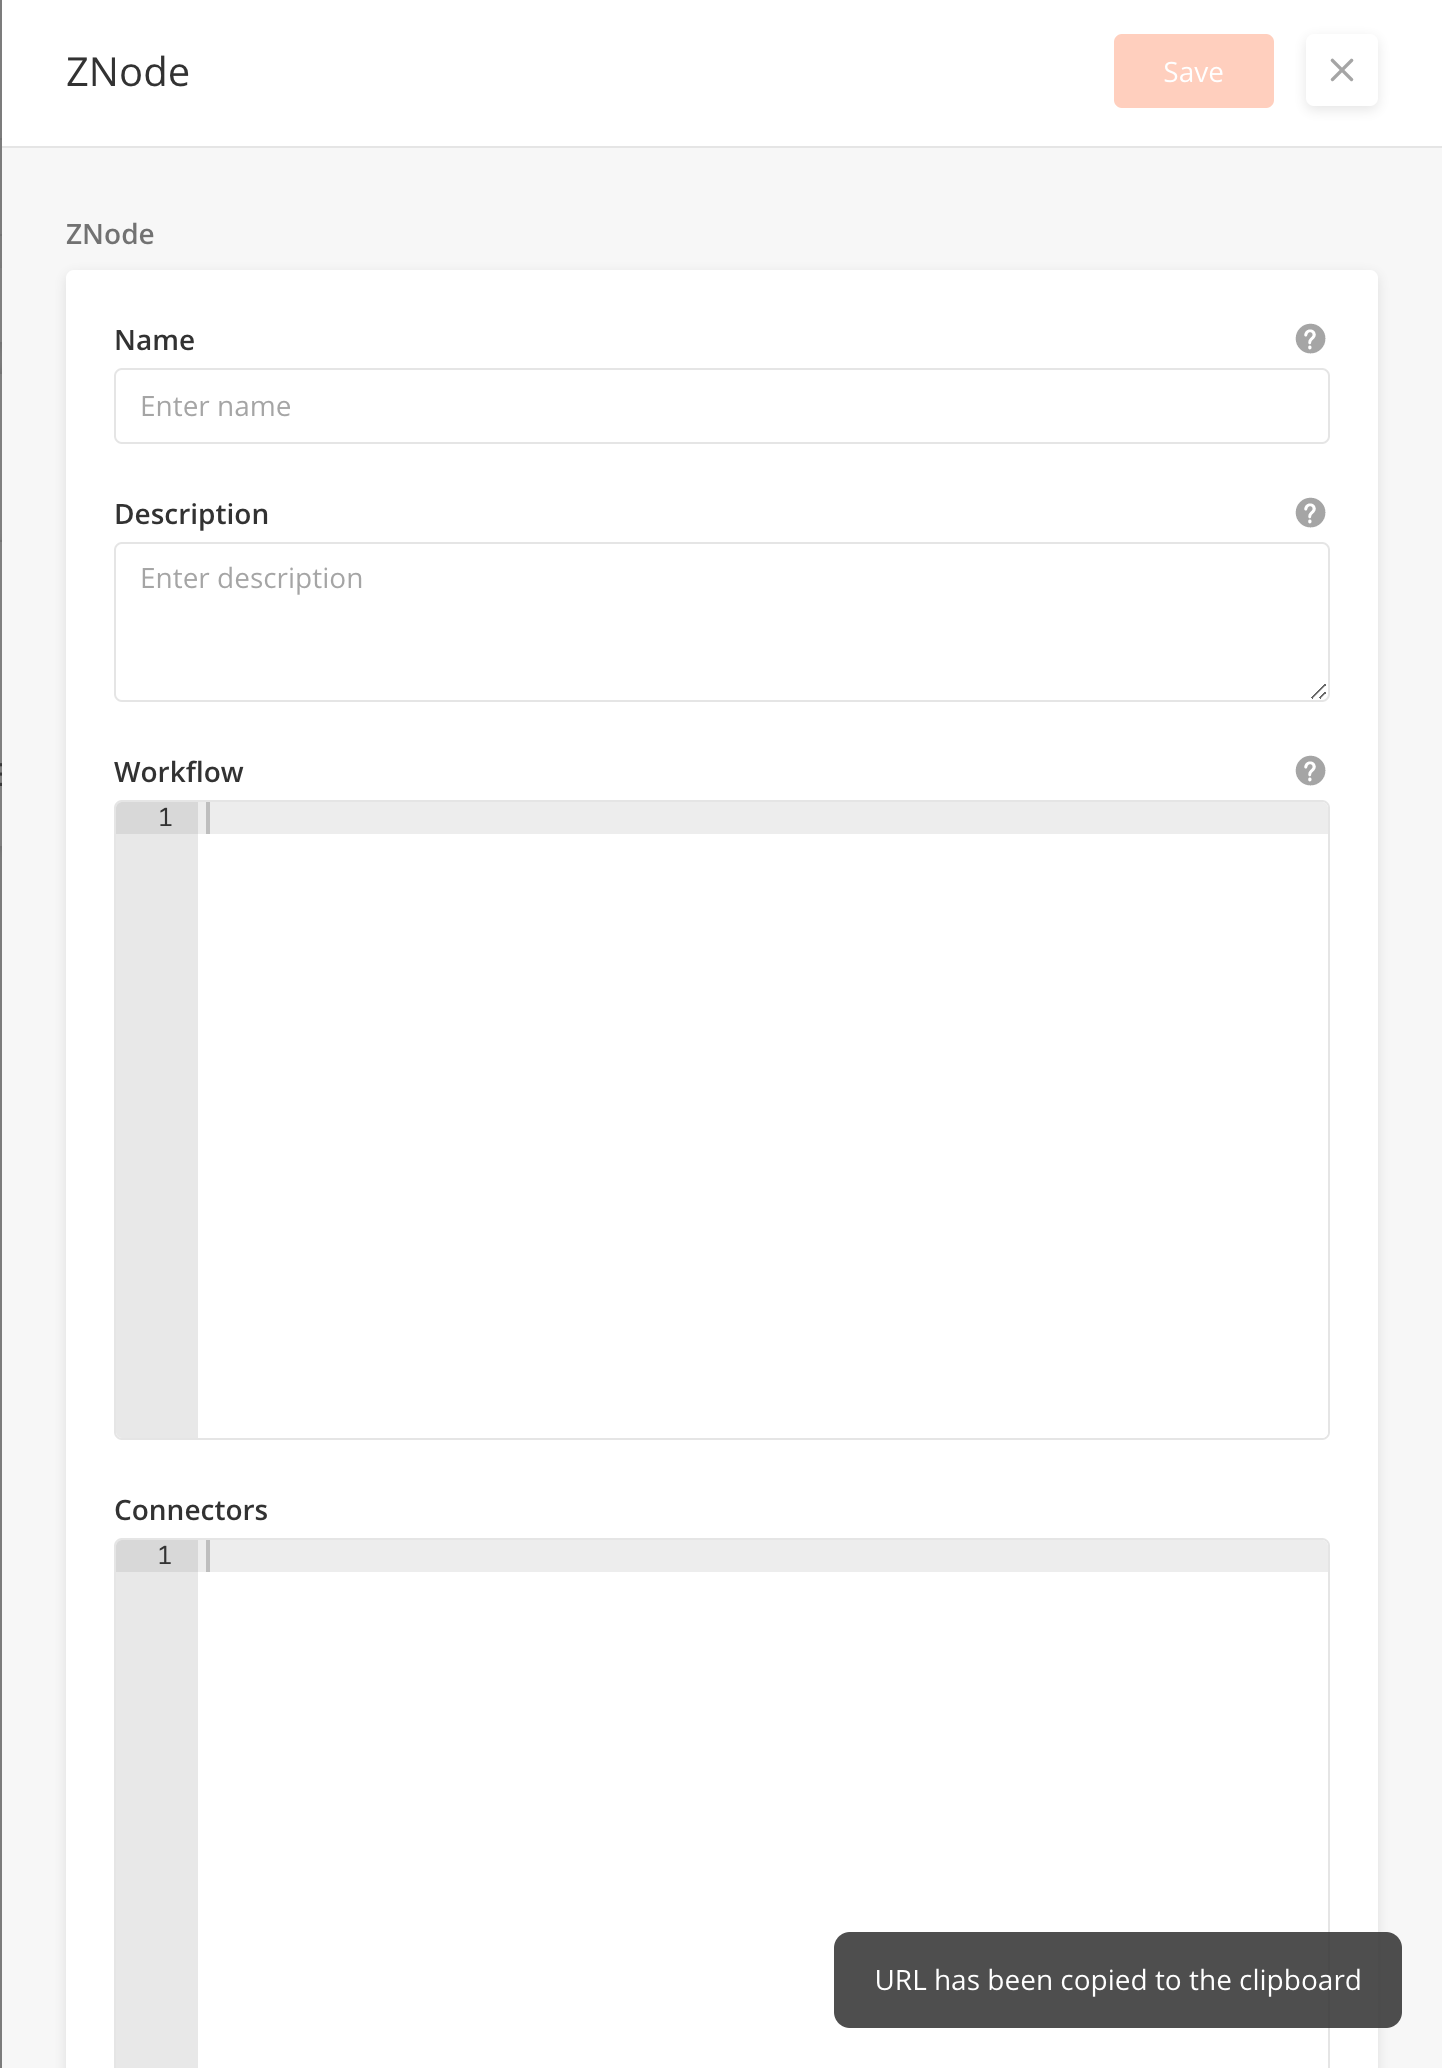
From the main page, click Add New to open the side panel.
-
Enter the fields accordingly. A detailed explanation for what each field means is listed in the table below.
-
After filling out all the fields, click Save.
-
Click Save to close the side panel.
-
You can edit or delete a record by hovering over the row of the desired record from the main page table and clicking the Edit icon. When you click Edit, the side panel will appear. Edit the information and click Save. Click on the Trash icon to delete a Znode.
|
Field Name |
Description |
Example |
|---|---|---|
|
Name: String |
Name of ZNode |
|
|
Description: String |
Short Description of ZNode |
|
|
Workflow: JSONObject |
The workflow must set the value of connectorAttribute |
|
|
Connectors : JSONArray |
List of connector that this ZNode can return |
|
|
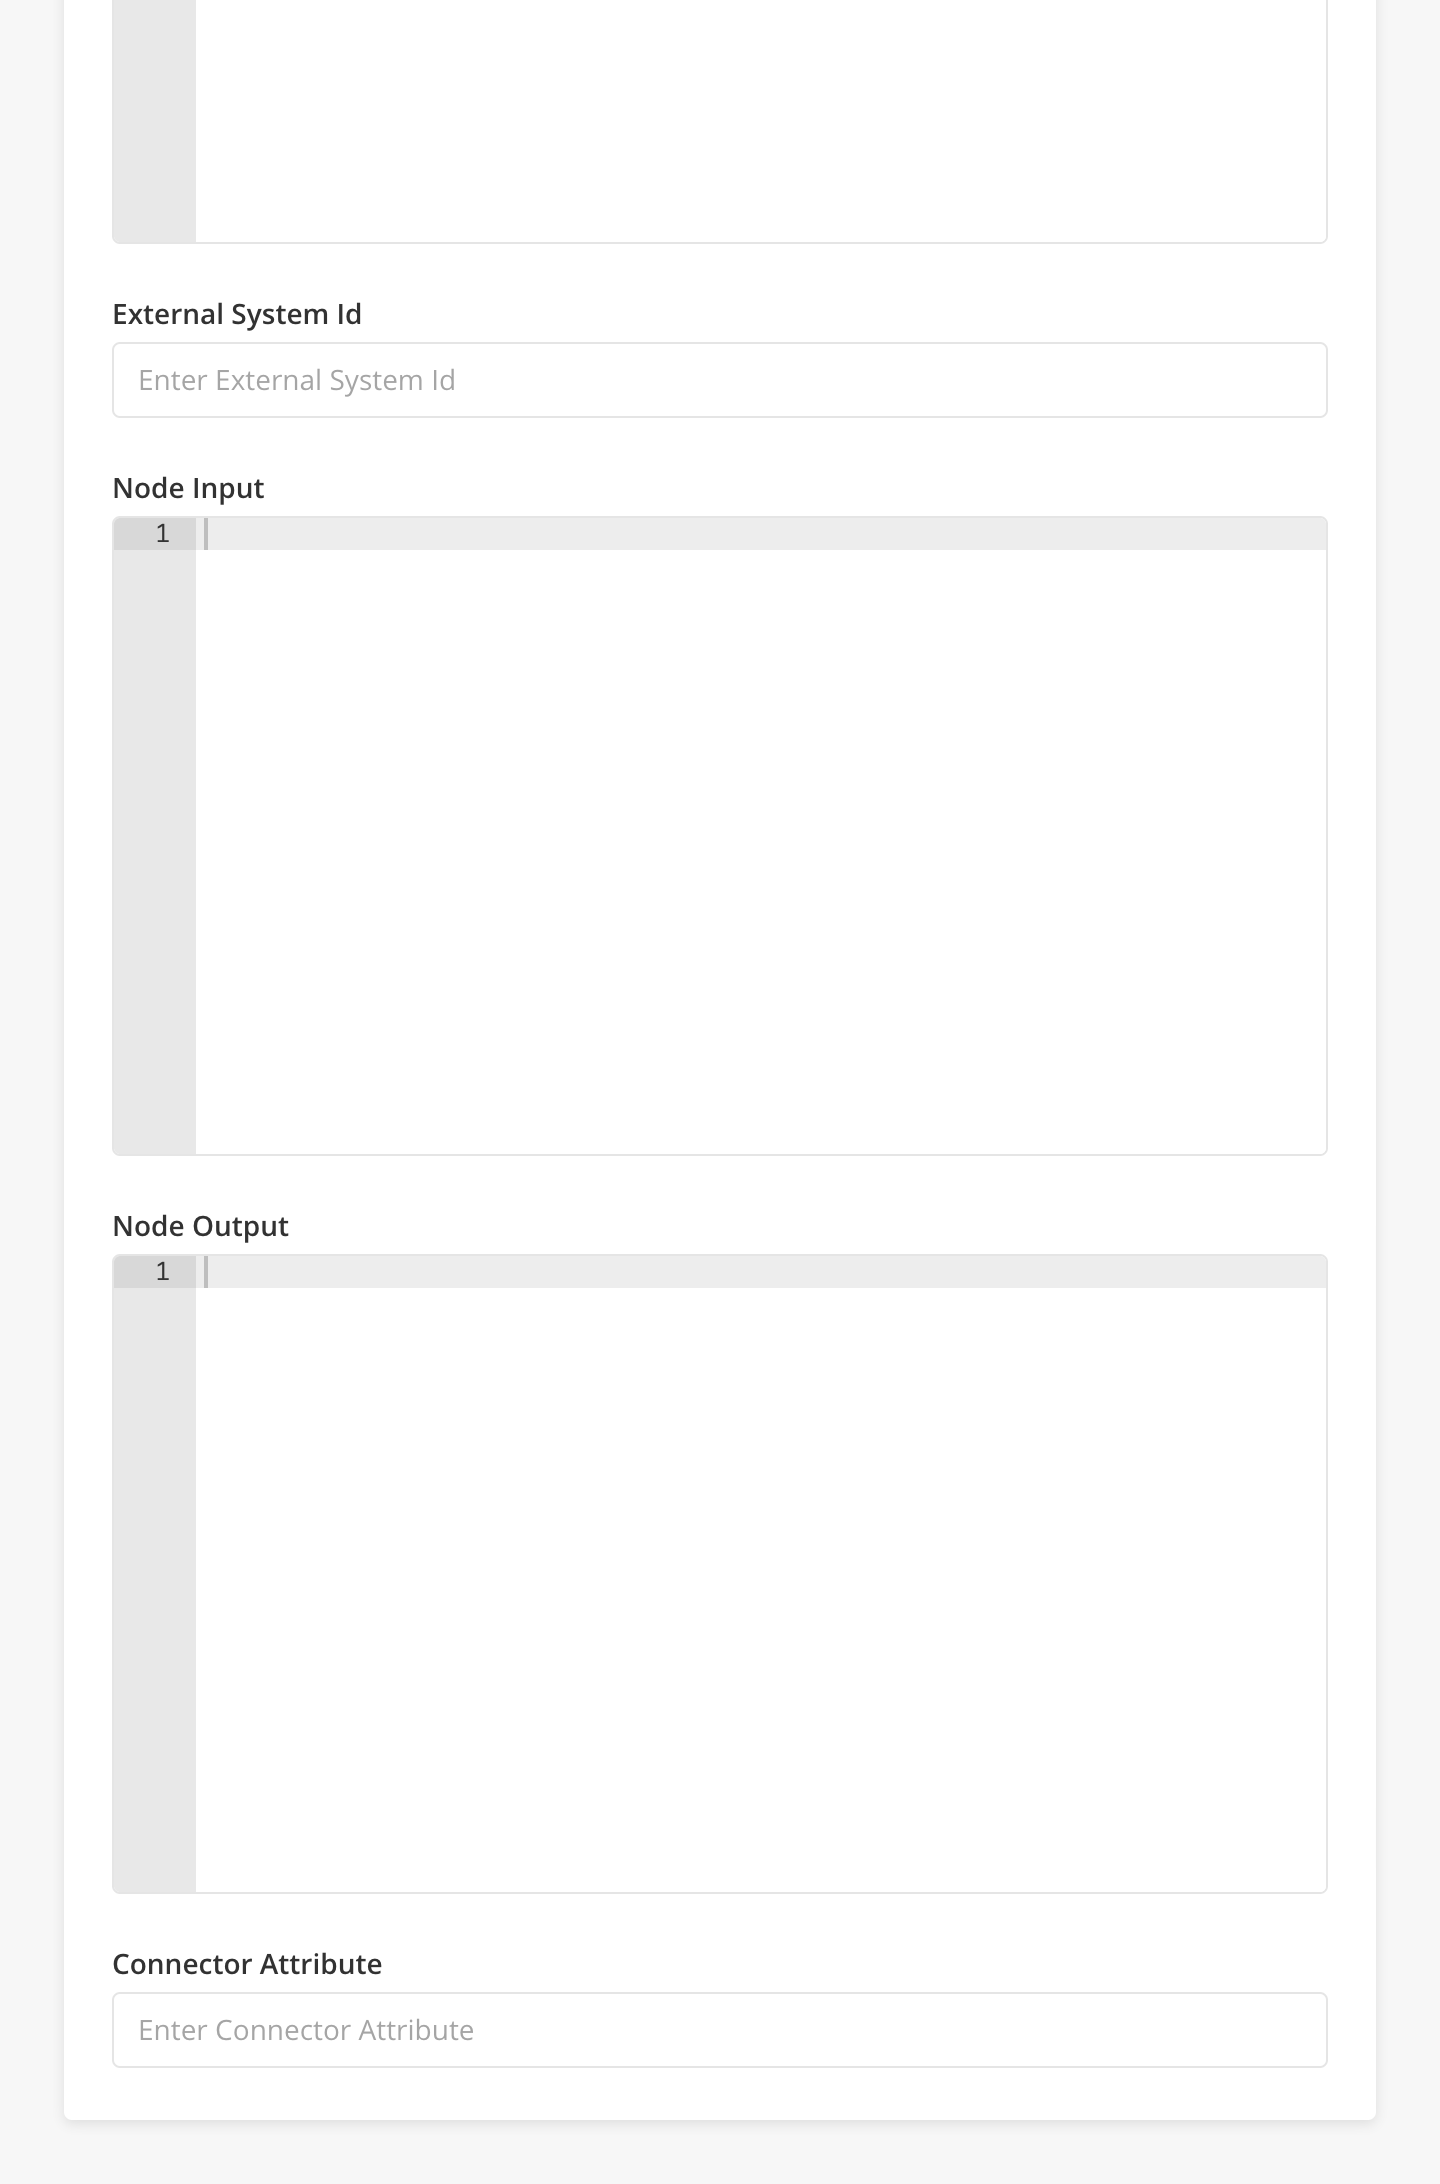
External system ID: String |
Name of External system |
|
|
Node Input |
Input |
|
|
Node Output |
Output |
|
|
Connector Attribute: String |
Workflow output attribute that defines connector name |
![[Note]](../css/image/note.png)
|
Note |
|---|---|
|
Queries are now only used in Workflows. |
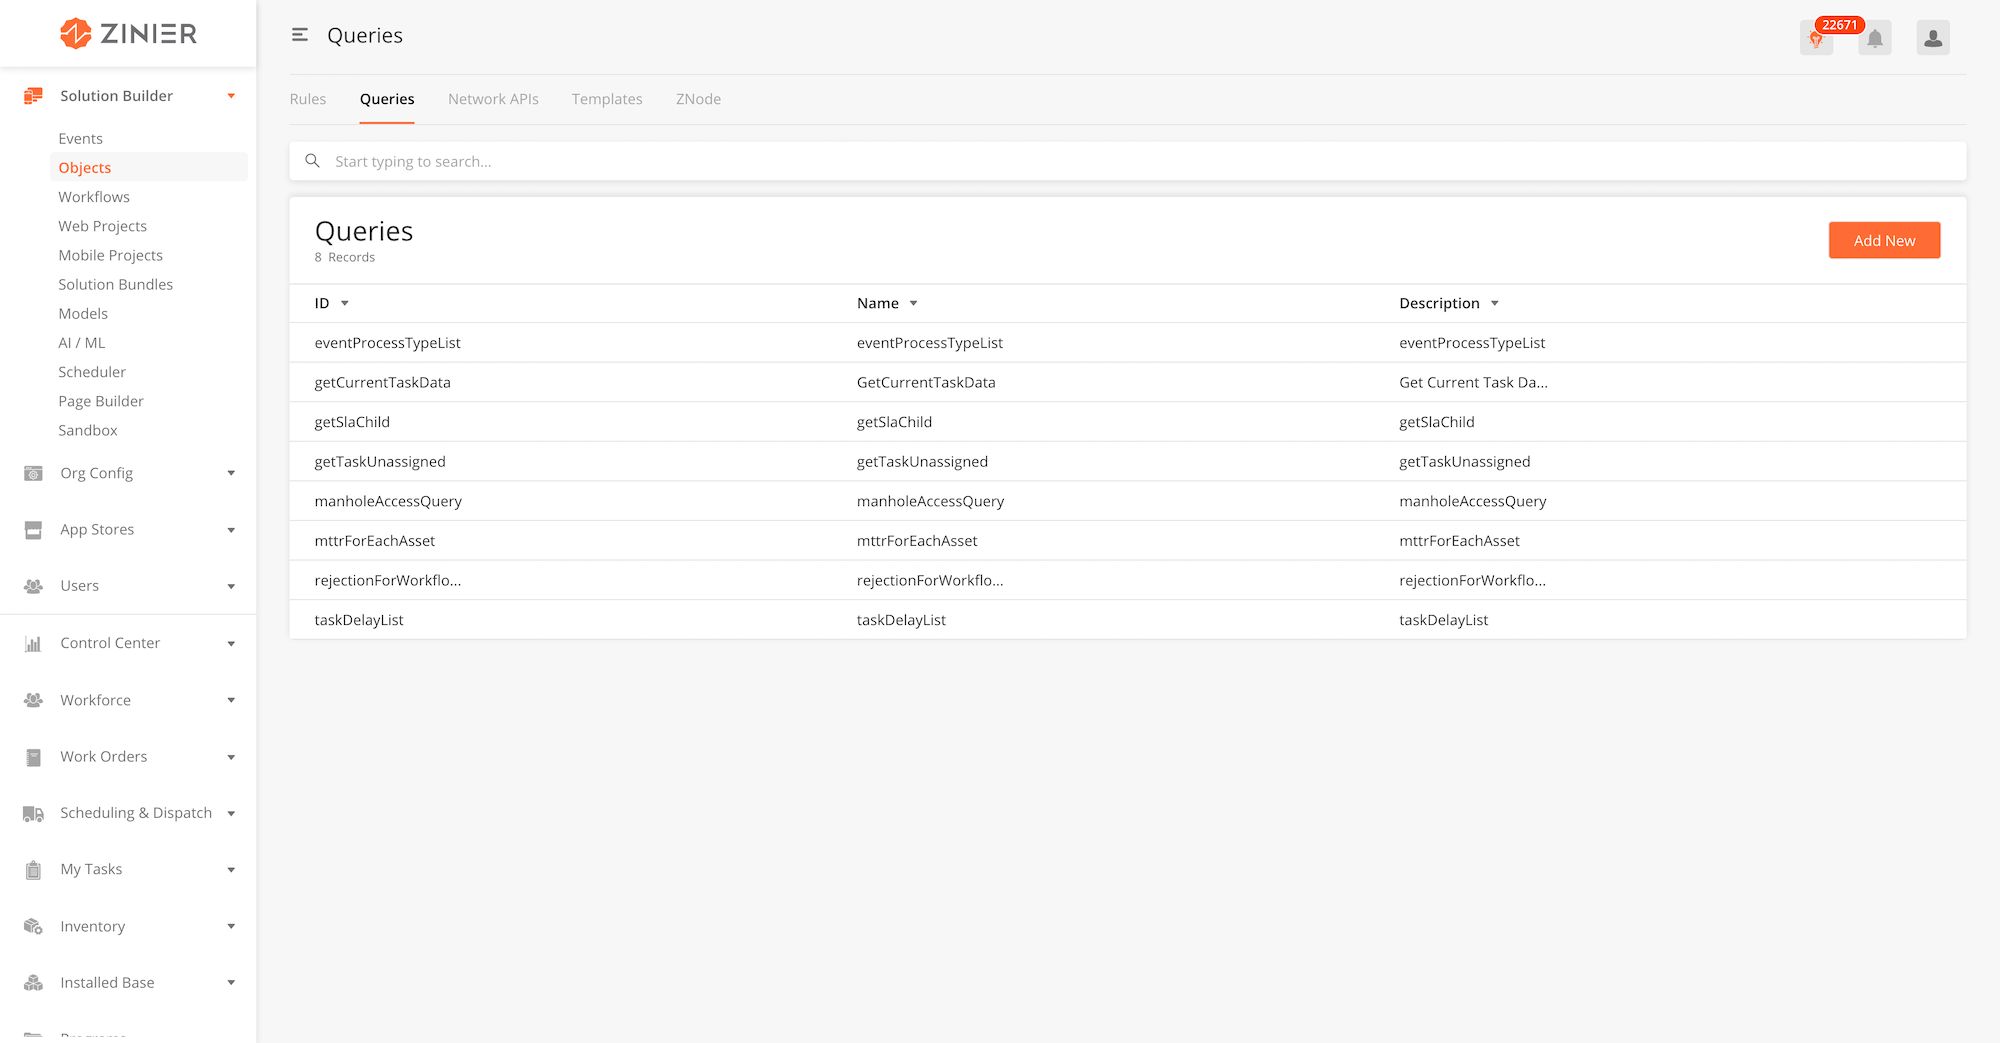
Queries are written in JSON format and are used by Mobile/ Front End to fetch records from Database. They provide secure access to database records.
|
Module |
Description |
|---|---|
|
Add Queries to a Solution Bundle |
-
From the main page, click Add New to open the side panel.
-
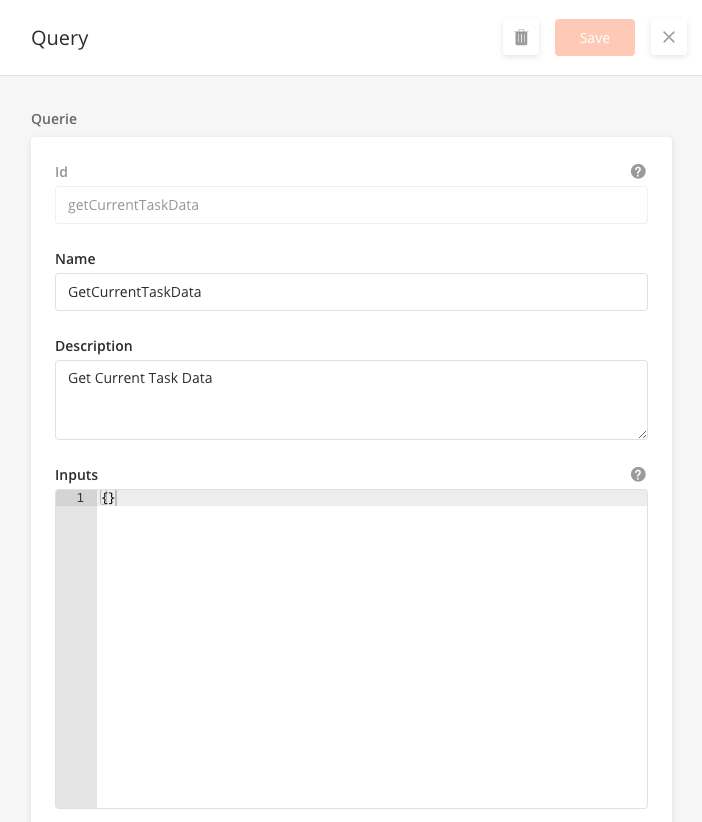
Enter a Name and Description for the Query
-
You can enter an ID or leave it blank to be autogenerated.
-
If relevant, enter the Inputs for the query, which refer to prefetched or predefined data to be used in the query
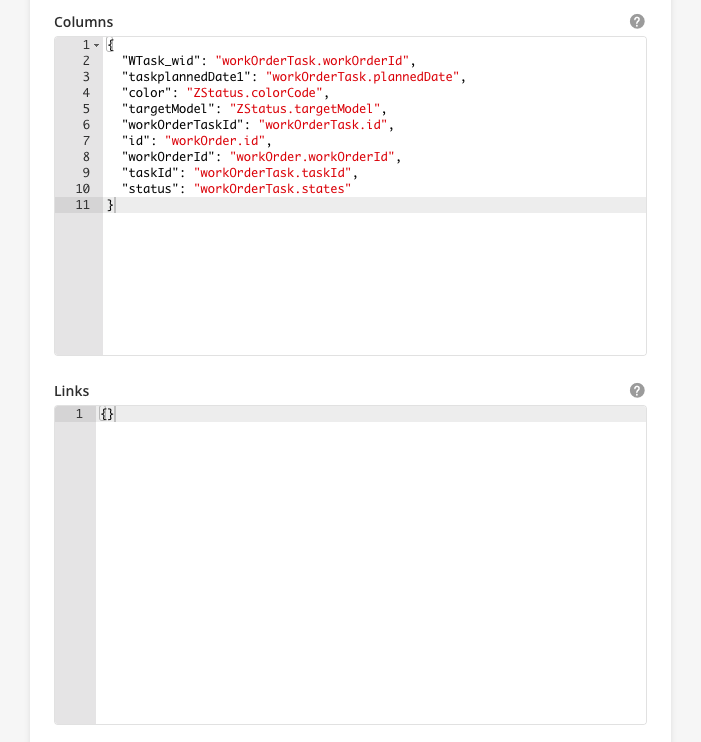
-
Enter the Columns in a JSON array of the models and column names that will be used in the query
-
If relevant, enter Links needed when executing the query
-
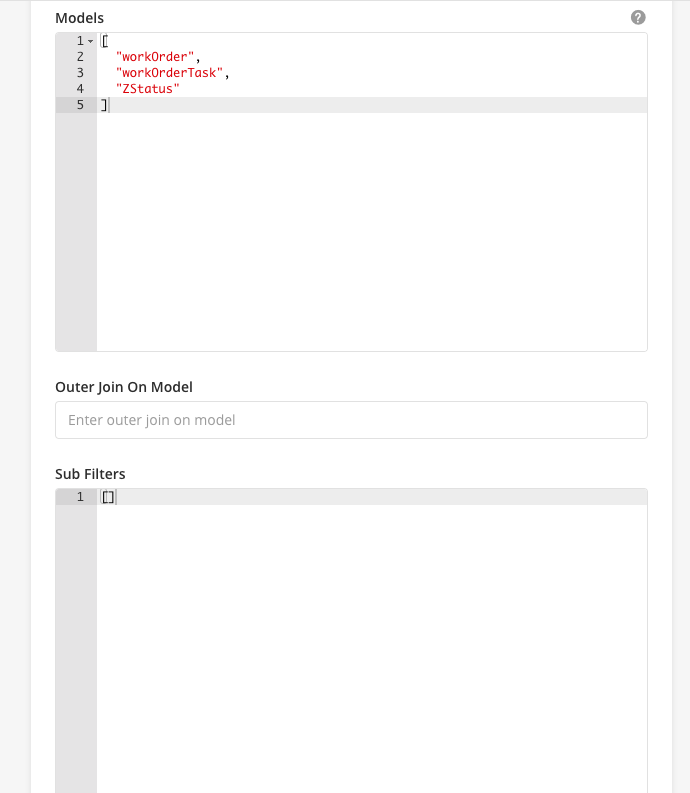
Enter the Models in a JSON array of model names that will be used in the query
-
If relevant, enter Outer Join On Model to specify if joints within the query
-
If relevant, enter Sub Filters needed when executing the query
-
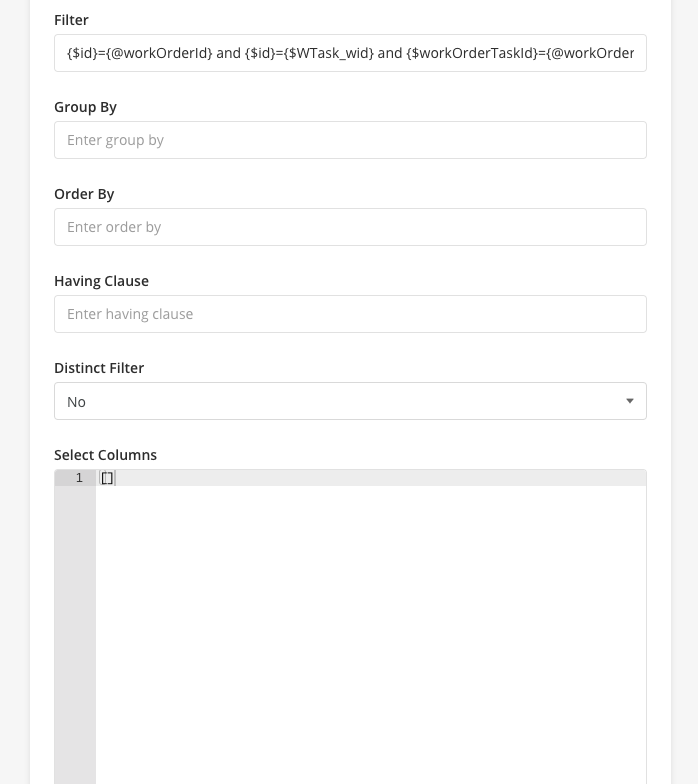
Enter Filter in a string to filter the results of the query
-
If relevant, enter Group By in a strong to group the results of the query
-
If relevant, enter Order By in a string to order the results of the query by a defined condition
-
Select if there is a Distinct Filter that should be applied in the query.
-
Enter Select Columns in a JSON array of the models and column names that will be used in the inner query.
-
You can edit or delete a record by hovering over the row of the desired record from the main page table and clicking the Edit icon. When you click Edit, the side panel will appear. Edit the information and click Save. To delete, hover and click on the trash icon.
|
|
|
Field Name |
Description |
Example |
|---|---|---|
|
Id |
Manually enter Query ID or leave blank to autogenerate |
|
|
Name |
The display name for the query |
GetCurrentTaskData |
|
Description |
Short Description about query |
Get Current Task Data |
|
Inputs |
Input for Query ID (i.e Prefetched, Predefined) |
|
|
Columns |
Columns to fetch specific results |
{
  "WTask_wid": "workOrderTask.workOrderId",
  "taskplannedDate1": "workOrderTask.plannedDate",
  "color": "ZStatus.colorCode",
  "targetModel": "ZStatus.targetModel",
  "workOrderTaskId": "workOrderTask.id",
  "id": "workOrder.id",
  "workOrderId": "workOrder.workOrderId",
  "taskId": "workOrderTask.taskId",
  "status": "workOrderTask.states"
}
|
|
Links |
Enter specific links (if any) |
|
|
Models |
Only use Model Names created under Solution Builder |
[ "workOrder", "workOrderTask", "ZStatus" ] |
|
Outer Join on Models |
Specify joins |
|
|
Sub Filters |
||
|
Filter |
Filter for Query Output (Where Clause) |
{$id}={@workOrderId} and {$id}={$WTask_wid} and {$workOrderTaskId}={@workOrderTaskId} and {$targetModel}='workOrder' |
|
Group By |
Group By Clause on query Output |
|
|
Order By |
Order By Clause on query Output |
|
|
Having Clause |
Having Clause on Query Output |
|
|
Distinct Filter |
Filter for the unique result. |
No |
|
Select Columns |
Column names to use in inner query |